I'm assuming you did do your homework already and are paralized by all the bad rep that this camera has gotten. So next I will render my assessment of its reported strengths and failures. I guess both have been largely exaggerated due to the foveon hype and expectations :)
- Yellow skin tones, few people shots in galleries, q.e.d.? In part that perception is due to the inclination towards pink that we see in digital P&S cameras. Arguably this stems from the preferences of these cameras' original market, which would be Asia. Unfortunately, this is not the whole story. The camera has poor definition of the red color channel, which makes it rather snap to yellow instead. More often than not you find yourself compromising the overall white balance towards magenta to improve the complexions of any people in the photo. That said it has captured excellent people shots for me, just there's a constant nag of missing red hues.
- Unnaturally blue skies? I have not had that, but at least SD9 has a problem of high UV sensitivity. An UV filter handles this. Not sure about IR also... it is known that SD10 has its dust protector doubling as an UV filter/hot mirror, and people seem to assume then that SD9 has the hot mirror directly on the sensor, but I would not be surprised if they actually skipped that altogether, just as they have skippped the UV filter...
- Superior color rendition? Uh oh. Color in my shots generally turned out naturalistic, after manual white balance correction in post processing. But I definitely miss the certain transparent quality and effortless white balance of the Fuji 4700 for example. In the days of the first usable digicams I often boasted myself to recognize the camera manufacturer by looking at thumbnails (just my 2ct on the megapixel madness) I found that this feat has become more difficult as of lately, but the SD9 is definitely one of those. If you manage to dig up the specs of the Foveon sensor you will find that it has poor color separation to begin with - in practice this means that after color space conversion the red, green and blue channels don't have the same 12 bit dynamic resolution each, ie. variations in certain colors will be less finely resolved (c/o noise reduction) than in other colors. That is not as bad as it sounds, since conventional color fiter sensors have the same problem, just with other colors. One objection I had with my early pictures had been reds would turn orange in highlights. This can be overcome by conservative exposure (avoid clipping in color channels). But certain flavours of red just are not rendered faithfully in a properly whitebalanced image. Therefore I conclude that the red channel has the least resolution.
- Superior dynamic range? With a conservative exposure and the useful postprocessing software, high contrast shots are quite workable. But in absolute numbers it definitly is no better than my worthy old Fuji 4700 P&S, rather worse due to pushed ISO ratings, which shows in dark or low saturation parts of any image.
- Autofocus not state-of-the art? I found the autofocus with the kit lens to be quite accurate and fast and it works even in very low interior light. It sure depends on the lens used.
- Arkward power supply solution, bad stamina on akkus? While the 2 sets of batteries solution (of SD9 only) sure is arkward, I'm still running on the set of used CR123A inherited from the last owner. Also the 4 AA rechargables have not yet let me down before I recharged them anyway, even after a week of idling on the desk (I have 4 2300mAh NiMh cells of lowliest Chinese vintage in there). IOW power handling is excellent in my experience.
- Only fat raw format files? The 8MB files will fill your CF quickly, and it is a matter of hours to process 100s of images with the raw converter. However, the experiment of going from RAW via automatic processing to jpg really lets you see what a compromise in image quality that is, and how many choices you delegate doing it this way. Ie. whatever interchangeable lens camera you use I would recommend that you shoot in RAW anyway. But the reason the camera does not do jpeg is clearly how far off the raw output is from a workable RGB image, compared to a good P&S camera.
- Bulky brick, just a little arkward controls? The size shure diminishes the always with me factor, but it helps with camera shake. The controls appear quite comprehensive and adequate to me. Everyhing you need while shooting has its dedicated control wheel or button. Much better than having to dive into a menu.
- Too few pixels (just a 3.4 MP image)/A 10MP camera? I can confirm that the 3.4 MP image is on par with a 6 MP Bayer image with some "added value". 10MP? Marketing speak.
- Artificial detail and low frequency moiree due to missing antialiasing filter? Has not yet been an issue here.
- Incredible detail at 100% size due to no antialiasing filter...? Well, what counts is what you get in a print or sized down to fit onto the screen. Looks all very nice. Scrutinizing 200% pixels on screen? Worth nothing. You know my other preferred line of cameras is Super CCD Fuji, which outputs images that look crappy at 100%, quite the opposite extreme from this here - but images print quite nice, too.
- Low ISO / bad color noise at higher ISOs? True, and the SD9 noise in an underexposed picture sure is the worst I have ever seen, but in a correctly exposed image it is acceptable in terms of "film grain". Usually I shoot at ISO 100 with this camera, except when I want it to speed it up for tele photo. Of course a camera where 400 is the standard ISO and the lower ISOs are just for special effects would be better...
- Bad performance with flash? I don't have one of the 2(!) supported Sigma TTL flash units, but with a dumb el cheapo x-contact flash results are quite predictable. I'm a zealot of indirect flash, if flash I must, where all the new-fangled commodities of a TTL zooming computer flash are worth little anyway.
- Can only use Sigma lenses? This is really a point to consider if you go for used lenses / eBay. Ironically Sigma lenses, while ubiquitous with any other manufacturer's bajonet, are really rare with Sigma's bayonet and fetch used prices accordingly. I have easily been able to procure a standard quality tele zoom by buying a has-had-it SA-300 analog Sigma camera cheaply, but used primes or zoom EX are really expensive. If you are capable to buy regular, new lenses it is not a problem since Sigma offers reputable lenses at interesting FLs. If you are ready for manual focus / exposure you can also make Pentax-K lenses work by a simple modification (to the lens) or get an M42 adapter.
Sigma PhotoPro RAW conversion software
It really is easy to use and offers everything needed to get an "official" image from the RAW image. The downside is that you really have to manually process every single image. Contrary to popular belief I can't say that the "Auto" option gives you a good image in a pinch or is an option to see what you have got. IMO it's always over-the-top, and it doesn't correct the white balance. What I do is start with the "X3F" basic image, then adjust the exposure and white balance, then see what the other options can do to improve, and only then look at the "Auto" version, to see if it has done something that I want too.To adjust white balance, mentally recall the basic mood of the light and try different grey parts of the image as reference until you match that mood, keeping an eye on skin tones, foliage, and supposedly white parts of the image so that they don't turn unrealistic or tinted.
To adjust the exposure, regard the histogram. Reduce the hilight in order to avoid color clipping - which is responsible for color shifts in strong primaries - observe the histogram.
If your photo is intended for reduced resolution web publishing or screen viewing, sharpen only after sizing it down. Otherwise check a contrasty detail for halos with the magnifier while you up sharpness.
Finally you can pull down shadow with an eye on the histogram, only after all afforementioned operations, to enhance depth.
The Fill Light function is a killer. It mimics what you can do with a filler flash or reflectors, to lighten up harsh shadows. It is ok while you use it in that circumstances, don't use it for scenes where a flash would not reach, like landscape or entire-building shots. It would only create unnatural effects. And correct the exposure first to improve an underexposed shot. An alternative to save underexposed shots in 3rd party software is positive gamma correction while adding contrast. You should always save as 16bit TIFF for additional processing. Add contrast and saturation that the lens, eg. at tele range, has taken away.
Like with all other parameters you can use a negative value for the fill light, this creates an interesting special effect of isolating the central motif from the backgrounds (based on contrast, I suppose - would be a chore to do manually). I have found that it is also good to improve a shot that suffers from camera shake or has an excess of destracting background detail.
Have not yet tried it, but I'm afraid the mandatory software will be a problem for the vintage subnotebook I carry with me on vacation for picture review and storage.
The Kit Lens
The 18-50 kit lens delivers a perfect always-on zoom range, from decent wide angle to portrait, and covers moderate macro work with its 25cm nearest distance. AF is fast. Quality is quite usable with some CA and bad bokeh. Quite good at its wideangle end. Needs an UV filter.The Vintage Lens
I have aquired an older 70-300mm DL lens cheaply by pretending to buy an SA-300 - maybe you find one too? It is good quality at F 8, nice to have for natural expression portraits at its shorter end, and the 300mm - read 500mm(!) - is good for some insights if you're lucky. The contrast & saturation is quite ok. The autofocus is slow and has a tendency to start over from scratch if it's undecided. I use it with manual focus a lot. The build factor is less than unintrusive, at 1ft with the hood... I have found that it is possible to do decent (1:4) macro at 300mm@1.2m distance with this lens despite it not bearing a "macro" designation.The Pentax-K Lens
Meanwhile I have modified a Pentax-K bajonet lens to fit the Sigma mount. It is an Auto Revuenon 50/1.4. I had to grind down the small lever that keeps the iris open (the "Auto") with a Dremel. Also all the plastic that protrudes past the metal part of the mount. One lesson learned is that you best do this with the lens close to the mount (by focussing). I had done the reverse, ie. retracting the lens away from harm, with the effect that the focussing grinds away on little plastic crumbs now.Apart from that the mod has been well worth it. While at f/1.4 the DOF is really low and there is bad ghosting (sort of a corona), at reasonable apertures it definitely looks better than the kit zoom lens at 50mm. There is also a change about the color rendition - less clinical, more juicy, I would describe it, maybe it's simply a matter of more saturation/contrast.
Best focus with the lens at max. apperture to get light and a shallow DOF. Then do what the autofocus does: focus on an area with small contrasty detail, spin on until it gets out of focus, than back over it and then right on the spot, it's faster and easier than it sounds after you get the hang of it.
Set exposure to manual or A-Mode, choose f/5.6 on the camera (for SD9). Then pick aperture on the lens and speed on the camera according to photographic rules. Check the histogram. You can also check focus by zooming in on the LCD, something worthy to learn. That's also good as an immediate feedback for practicing hand held low light and tele shots.
Be careful when you focus this lens towards infinity. Infinity on the SD9 is at something like 10ft on the lense's scale... slightly past infinity the back lens hits the dust protector. Not a drama because the back lens is larger than the dust protector window, so it won't leave any marks in the recorded area itself.
M42 Lenses
....later... now I have an M42-PK adapter that allows me to fit classic M42 lenses. I have no problem whatsoever with hitting the dust protector or not beeing able to focus to infinity. Optimally, you need to clip off the "Auto" pin, it gets in the way of the SA electrical contacts, but you can try holding the camera with the opening pointing to the ground while you mount the lens. I have tried two lenses, a 135/2.8 Revue Telefoto (an old version of the otherwise ubiquitous GDR lens) and a Cosinon 55/1.4. The results where really amazing. These lenses are much better than both the Sigma lenses. There is little to be desired of the camera using these lenses.... Set the camera to "A"perture priority and the camera aperture to 5.6. Focus at the widest aperture setting of the lens - the camera autofocus will still offer its guide by showing a circle in the viewfinder - at apertures like 1.4 your precision needs to go beyond auto of course... Step the lens aperture down with an eye to the speed while you keep the half press. It's really easy and viable to use a manual lens this way, for most situations.One issue is the M42 adapter, which is a little hard to get off the camera (requires a key and then some artistic skills). So it would be ideal to use only M42 lenses or maybe to superglue an adapter to each lens...
Verdict
The images will have instant appeal to Gents of Quality ;) who have developed an attitude against images from a CCD sensor. But there is not so much difference to other advanced CMOS sensors�. The images have deficiencies that may outweigh any claimed or real advantages, in the area of subtle-color-variations and noise. Somehow I am quite happy with them despite of this. (�The hallmark of current CMOS imagers over CCD is absence of bleeding, and bleeding is probably the #1 property that cryed out "digital image" in the past. #2 is color...)As a camera it is absolutely good value at the price I payed used, maybe not so at the original price. I will definitly keep it and add some lenses and stuff. I'm sure I could not improve with eg. a 350D (have checked pbase again for comparison). Just it would look less silly on outings. This verdict and the sample snapshots are based on about 6 weeks of usage with sporadic picture-taking opportunities...
PS: about three weeks after receiving my used SD9 it's apparently sold out at the shops at the bargain price and ebay prices climb well over 500,- again. Look at the test shots. I would say grab one while you can.
PPS: The ability to fit M42 lenses with an adapter and the fact that you can use autofocus and auto exposure with these manual lenses makes me feel really comfortable with this buy... plus some of the niggles that are mentioned here may be attributed to the kit lens - which is still a must have for its WA abilities.
Exposure
Time to commence sort of a best practice section. This time we deal with exposure. I use matrix metering together with exposure correction. The SD9 matrix metering is dumb as a doornail, ie. it does not have an expert system behind it that knows about shooting polar bears on ice shoals :) But that makes it predictable. In direct sun situations I use -0.5 <-> -1 exposure correction, to preserve the highlights. Likewise, I use -1 exposure if I shoot at 300m, to get a higher speed. If your frame contains large portions of overcast sky you should use +1 exposure. The one situation where +-0 exposure is correct is scenes that do not contain sky on an overcast day. Generally, underexposing is preferable to upping the ISO (I believe that is just the same). Because a) if you are acustomed to have exposure correction set you don't forget to set it back, and b) it is more intelligible and expresses better what we do. (Yes, polar bears on ice shoals are actually programmed into the competition)31 out of about 200 pictures taken:

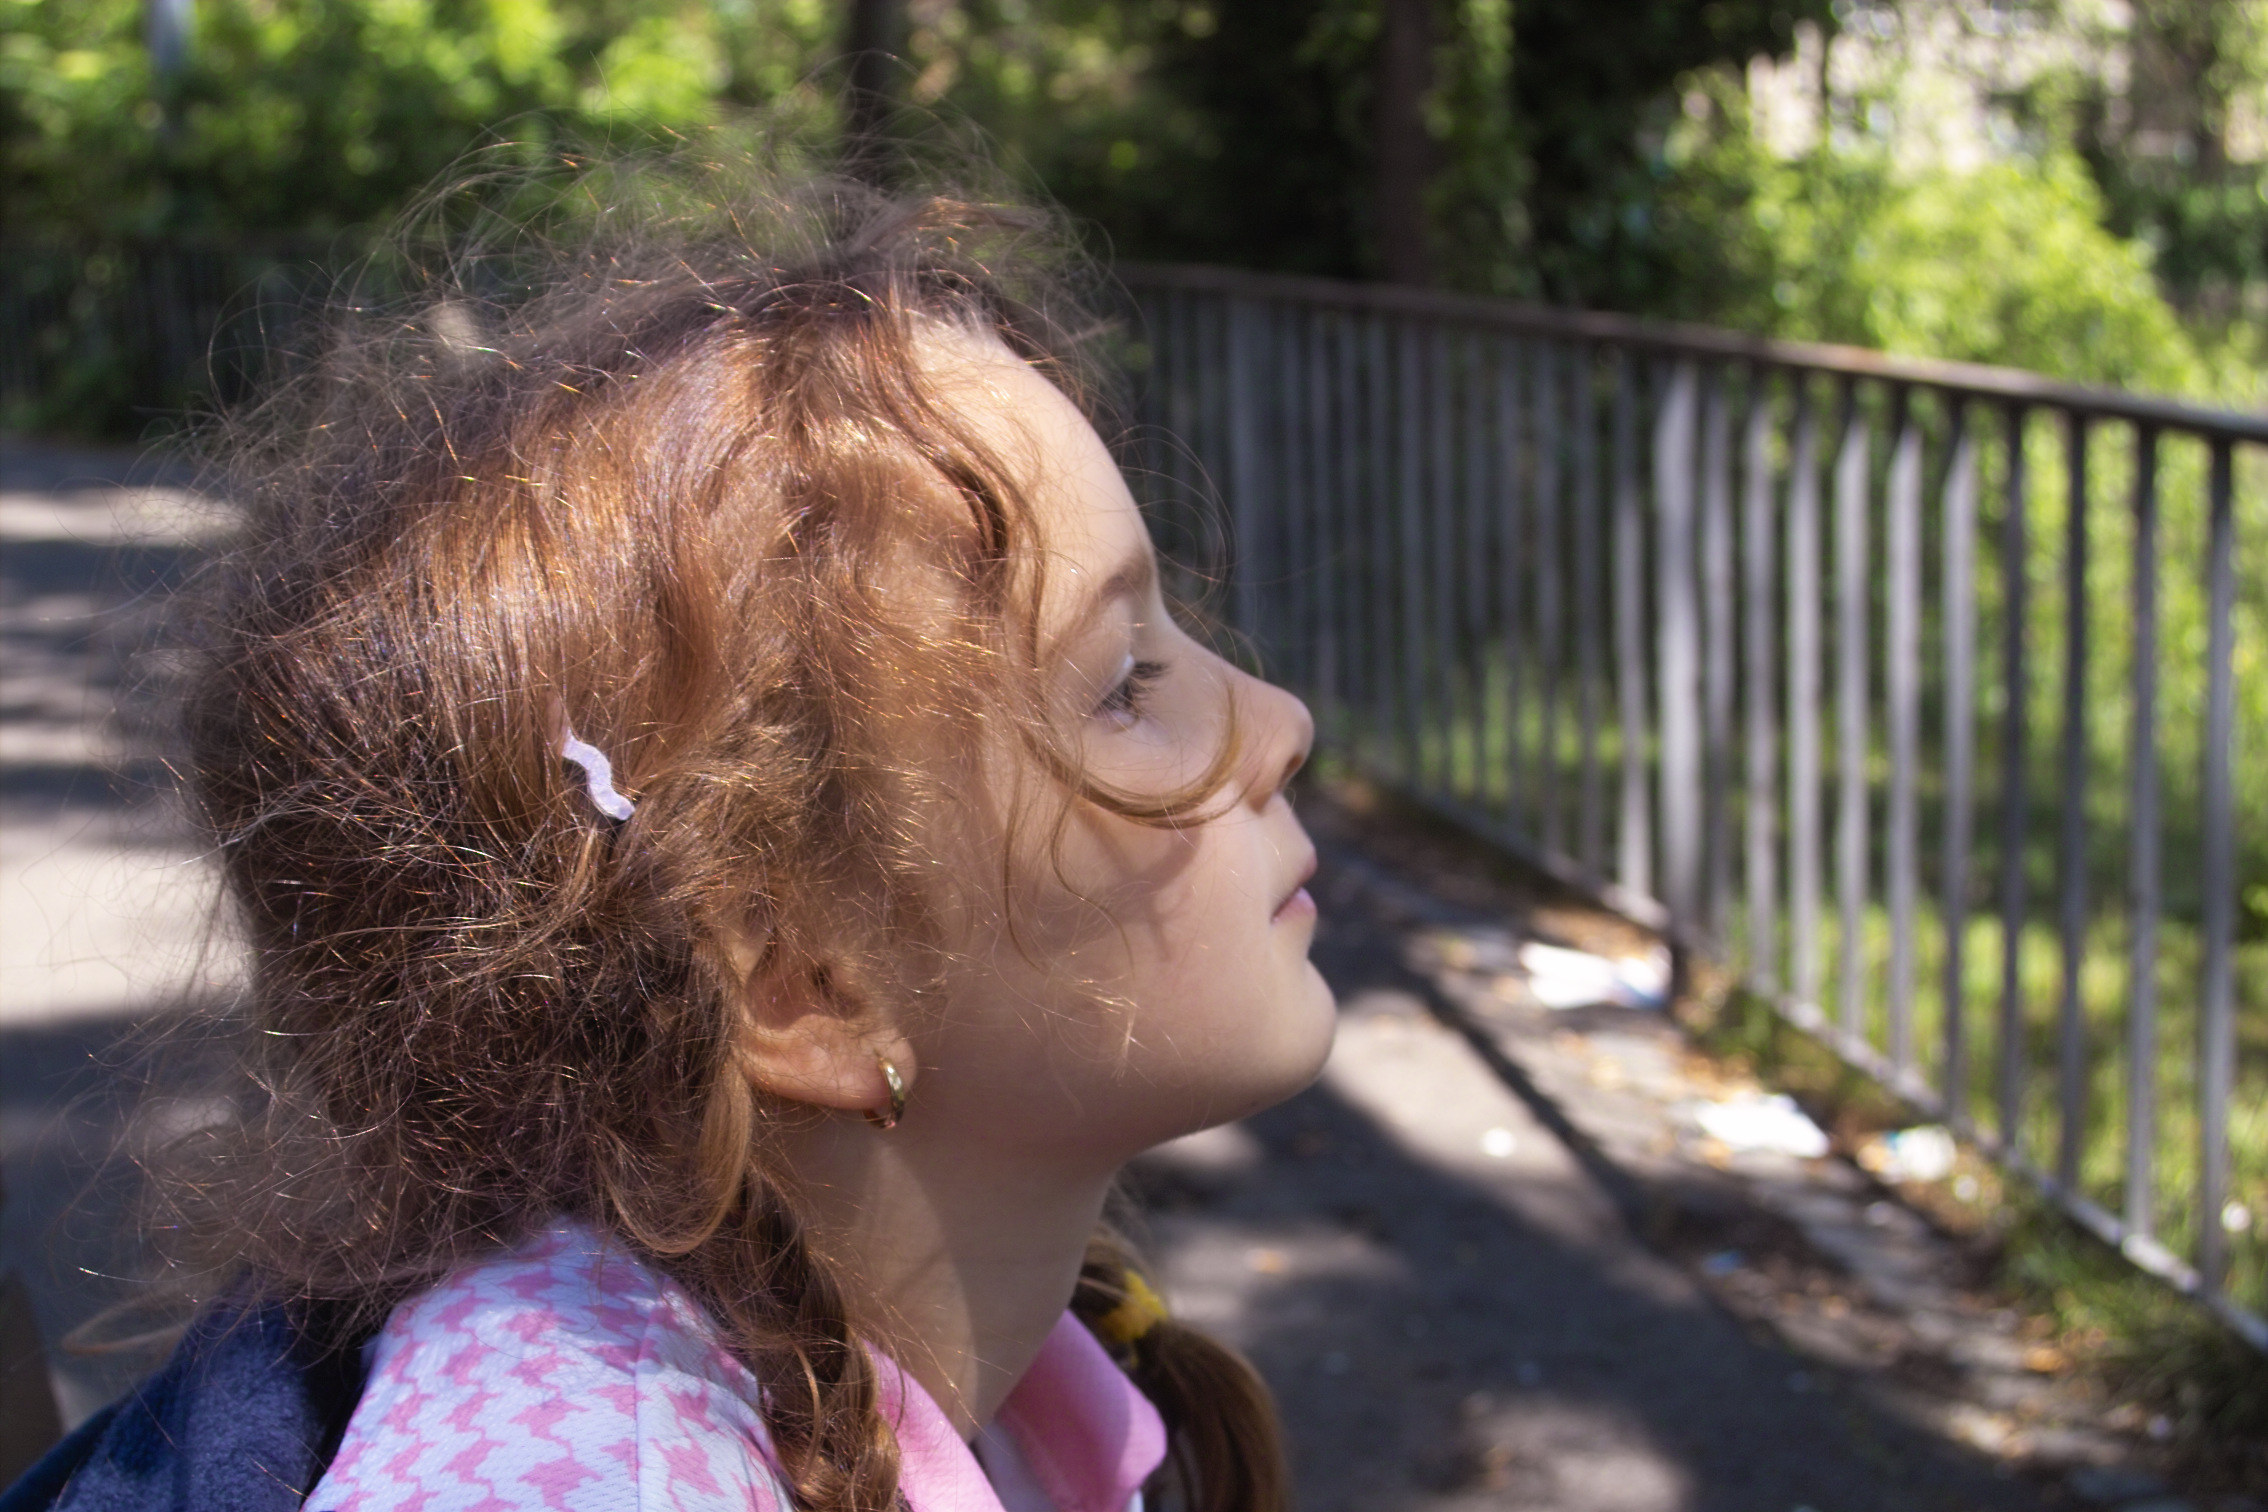
My daughter Rosa, what the wide angle capabilities of an SLR is good for. If you repeat after that shot, do not clip the toes...
My daughter Lilli, including an artistic rendition of Rosa's that did not quite make it into the scene, sorry ;)
Late in the office... if it's Sunday and you are a father.
This was a severely underexposed shot actually, shows off the SPP software's capabilities and a quirk of the SD9s exposure metering - underexposure in shots that contain overcast skies.

Random view with a high dynamic, for your reference. The fill-light feature in the SPP software would be able to bring out the foliage in the foreground - but what for?
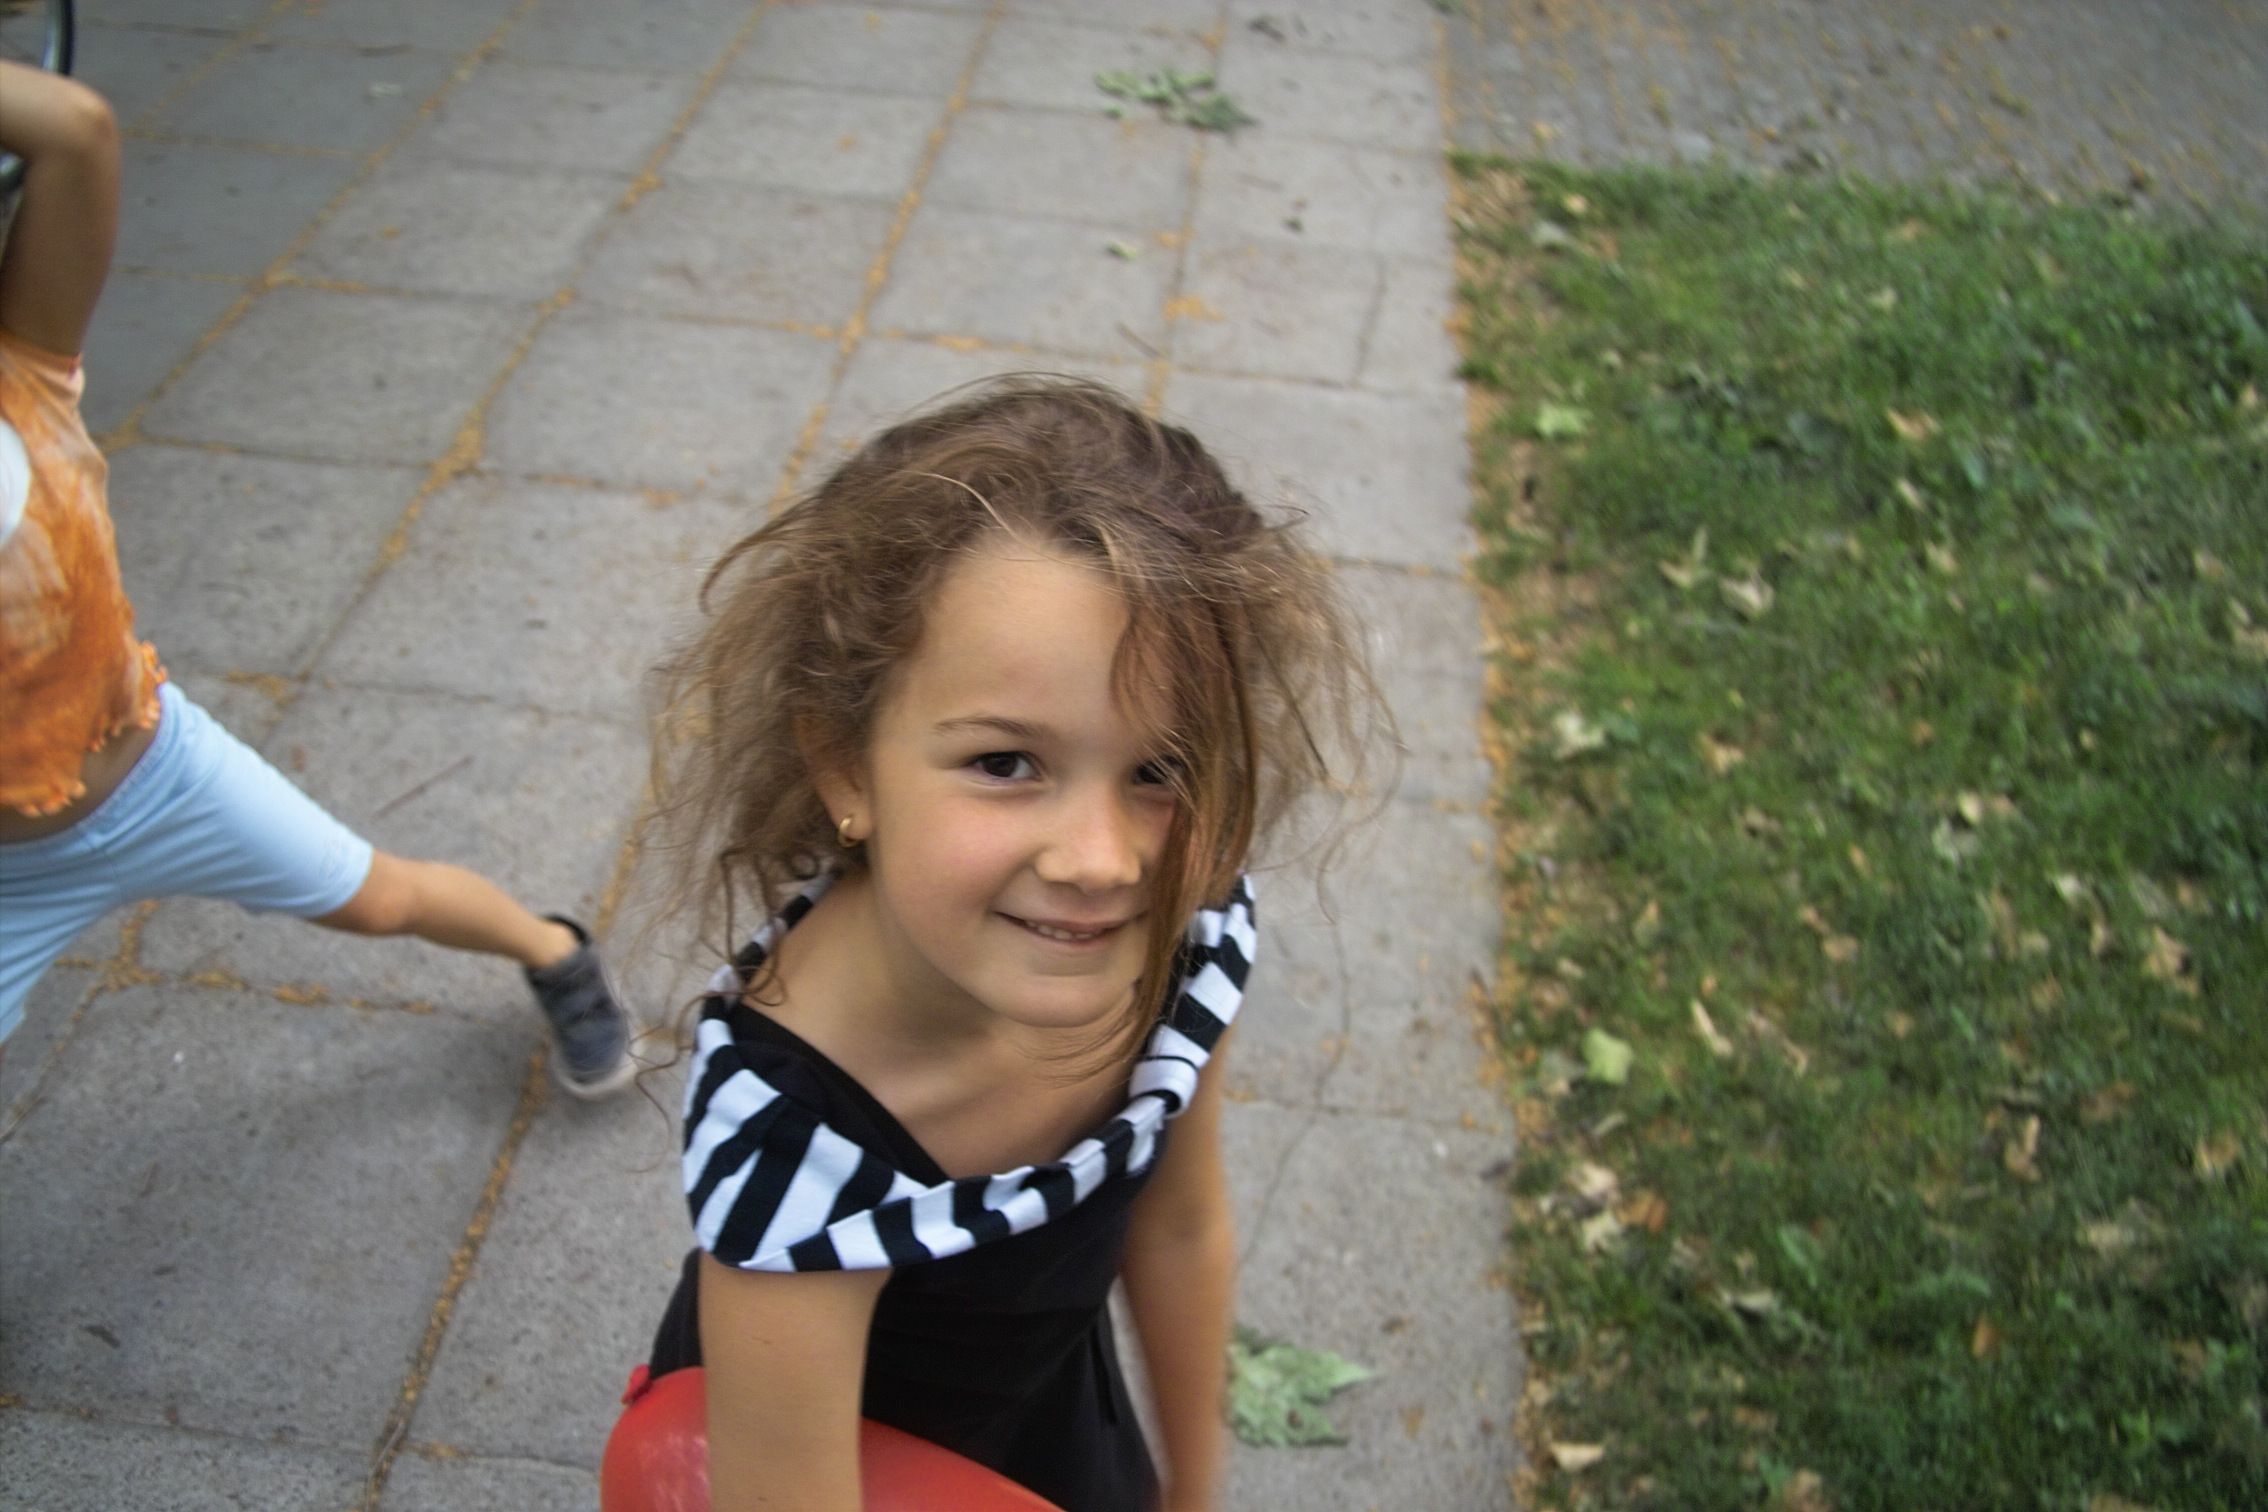
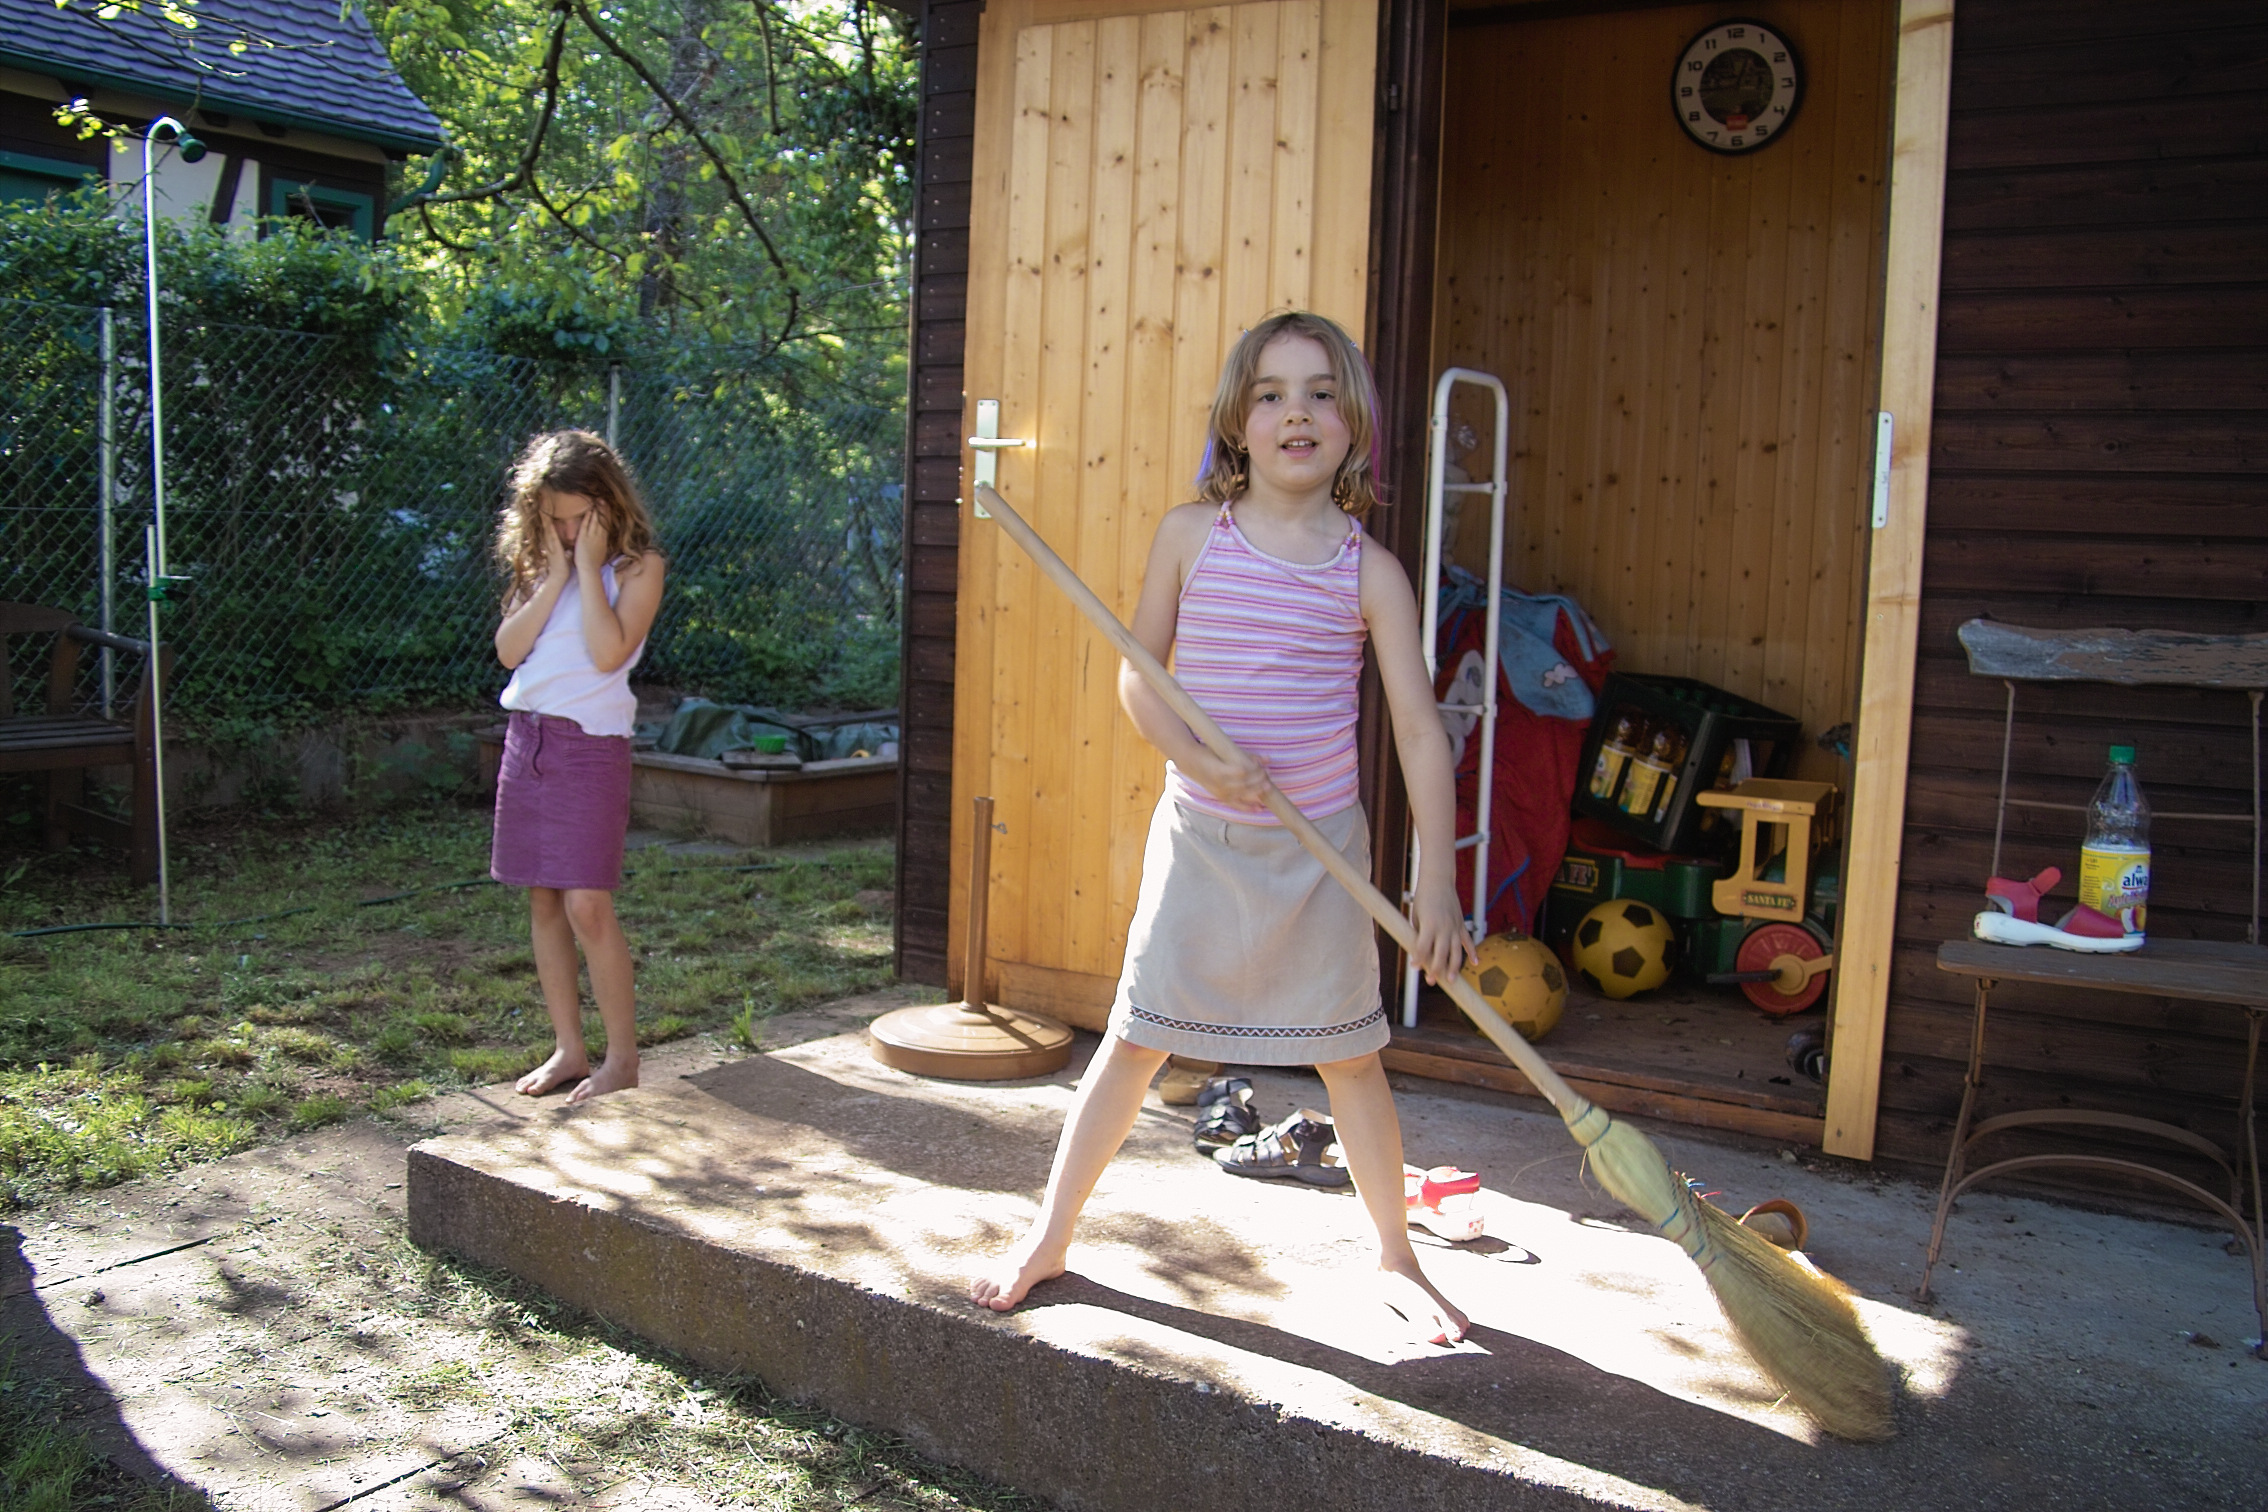
Rosa grounded... I clipped level to her feet to make her look more grounded. I kept the distracting dark shape to the right because it adds one more to all those oppressive lines in the picture.

Could have been a perfect shot... if only I had carried a flash.

But the light was so right at that location - There is no filler flash, no reflecting surface nor fill-light from the software in this picture. Just bad framing.

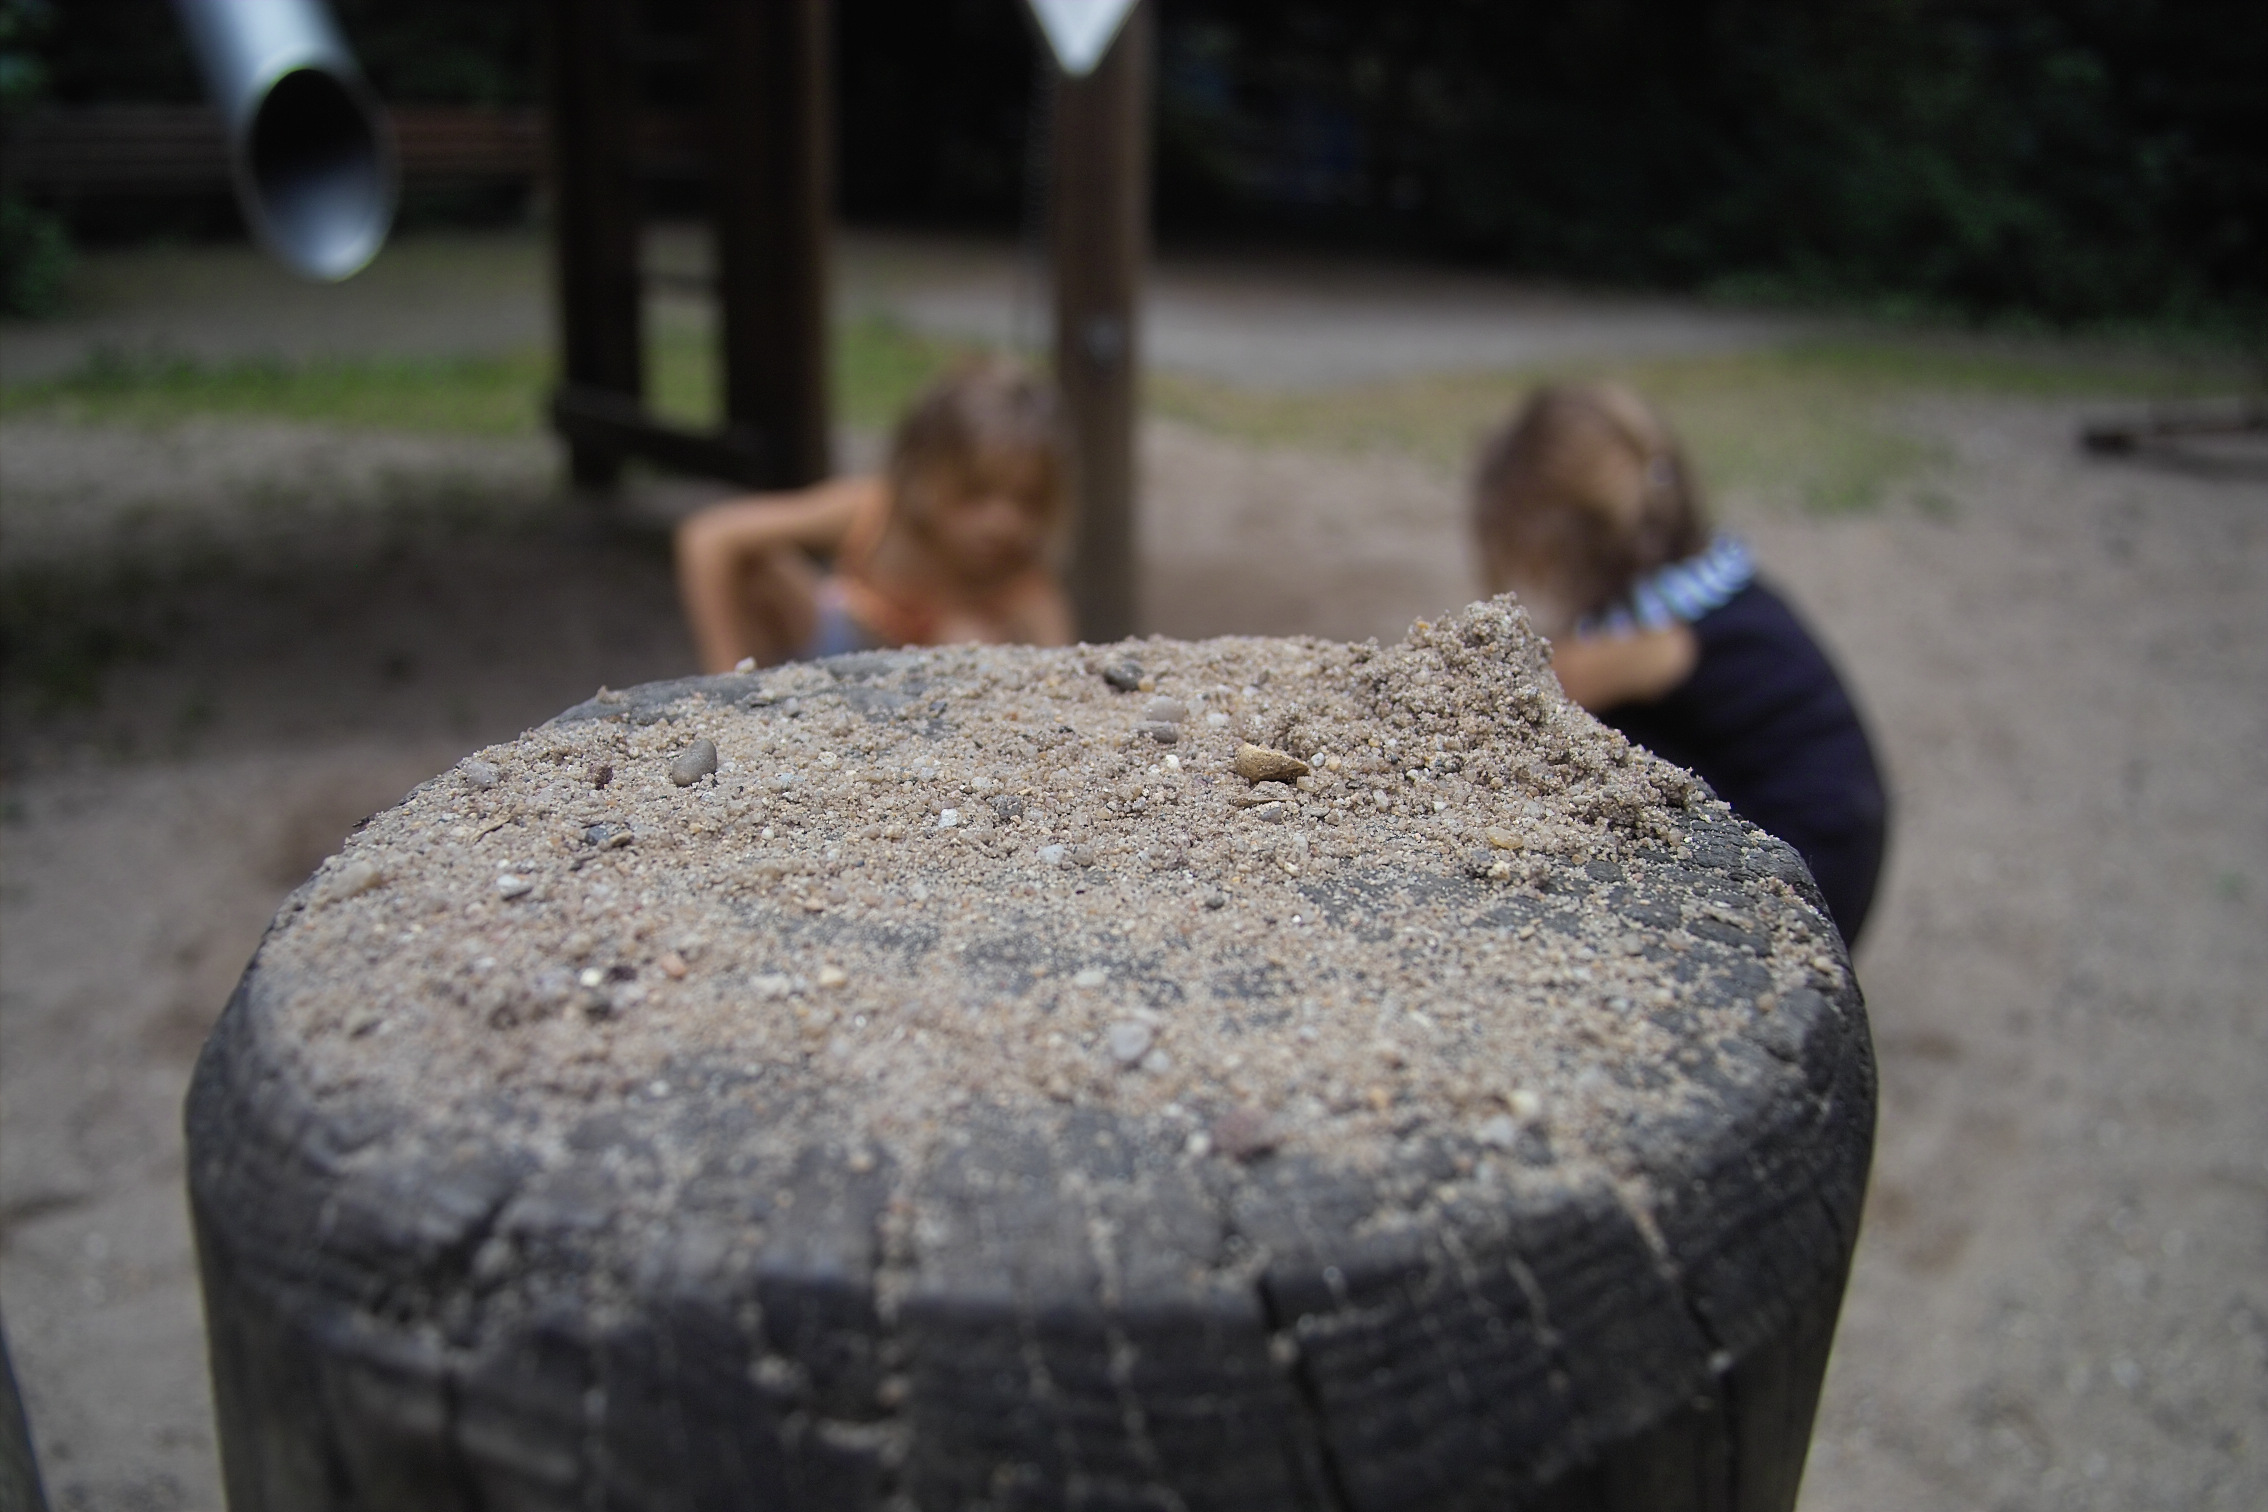
One of those shots that I am bound to take, that have no content at all :)
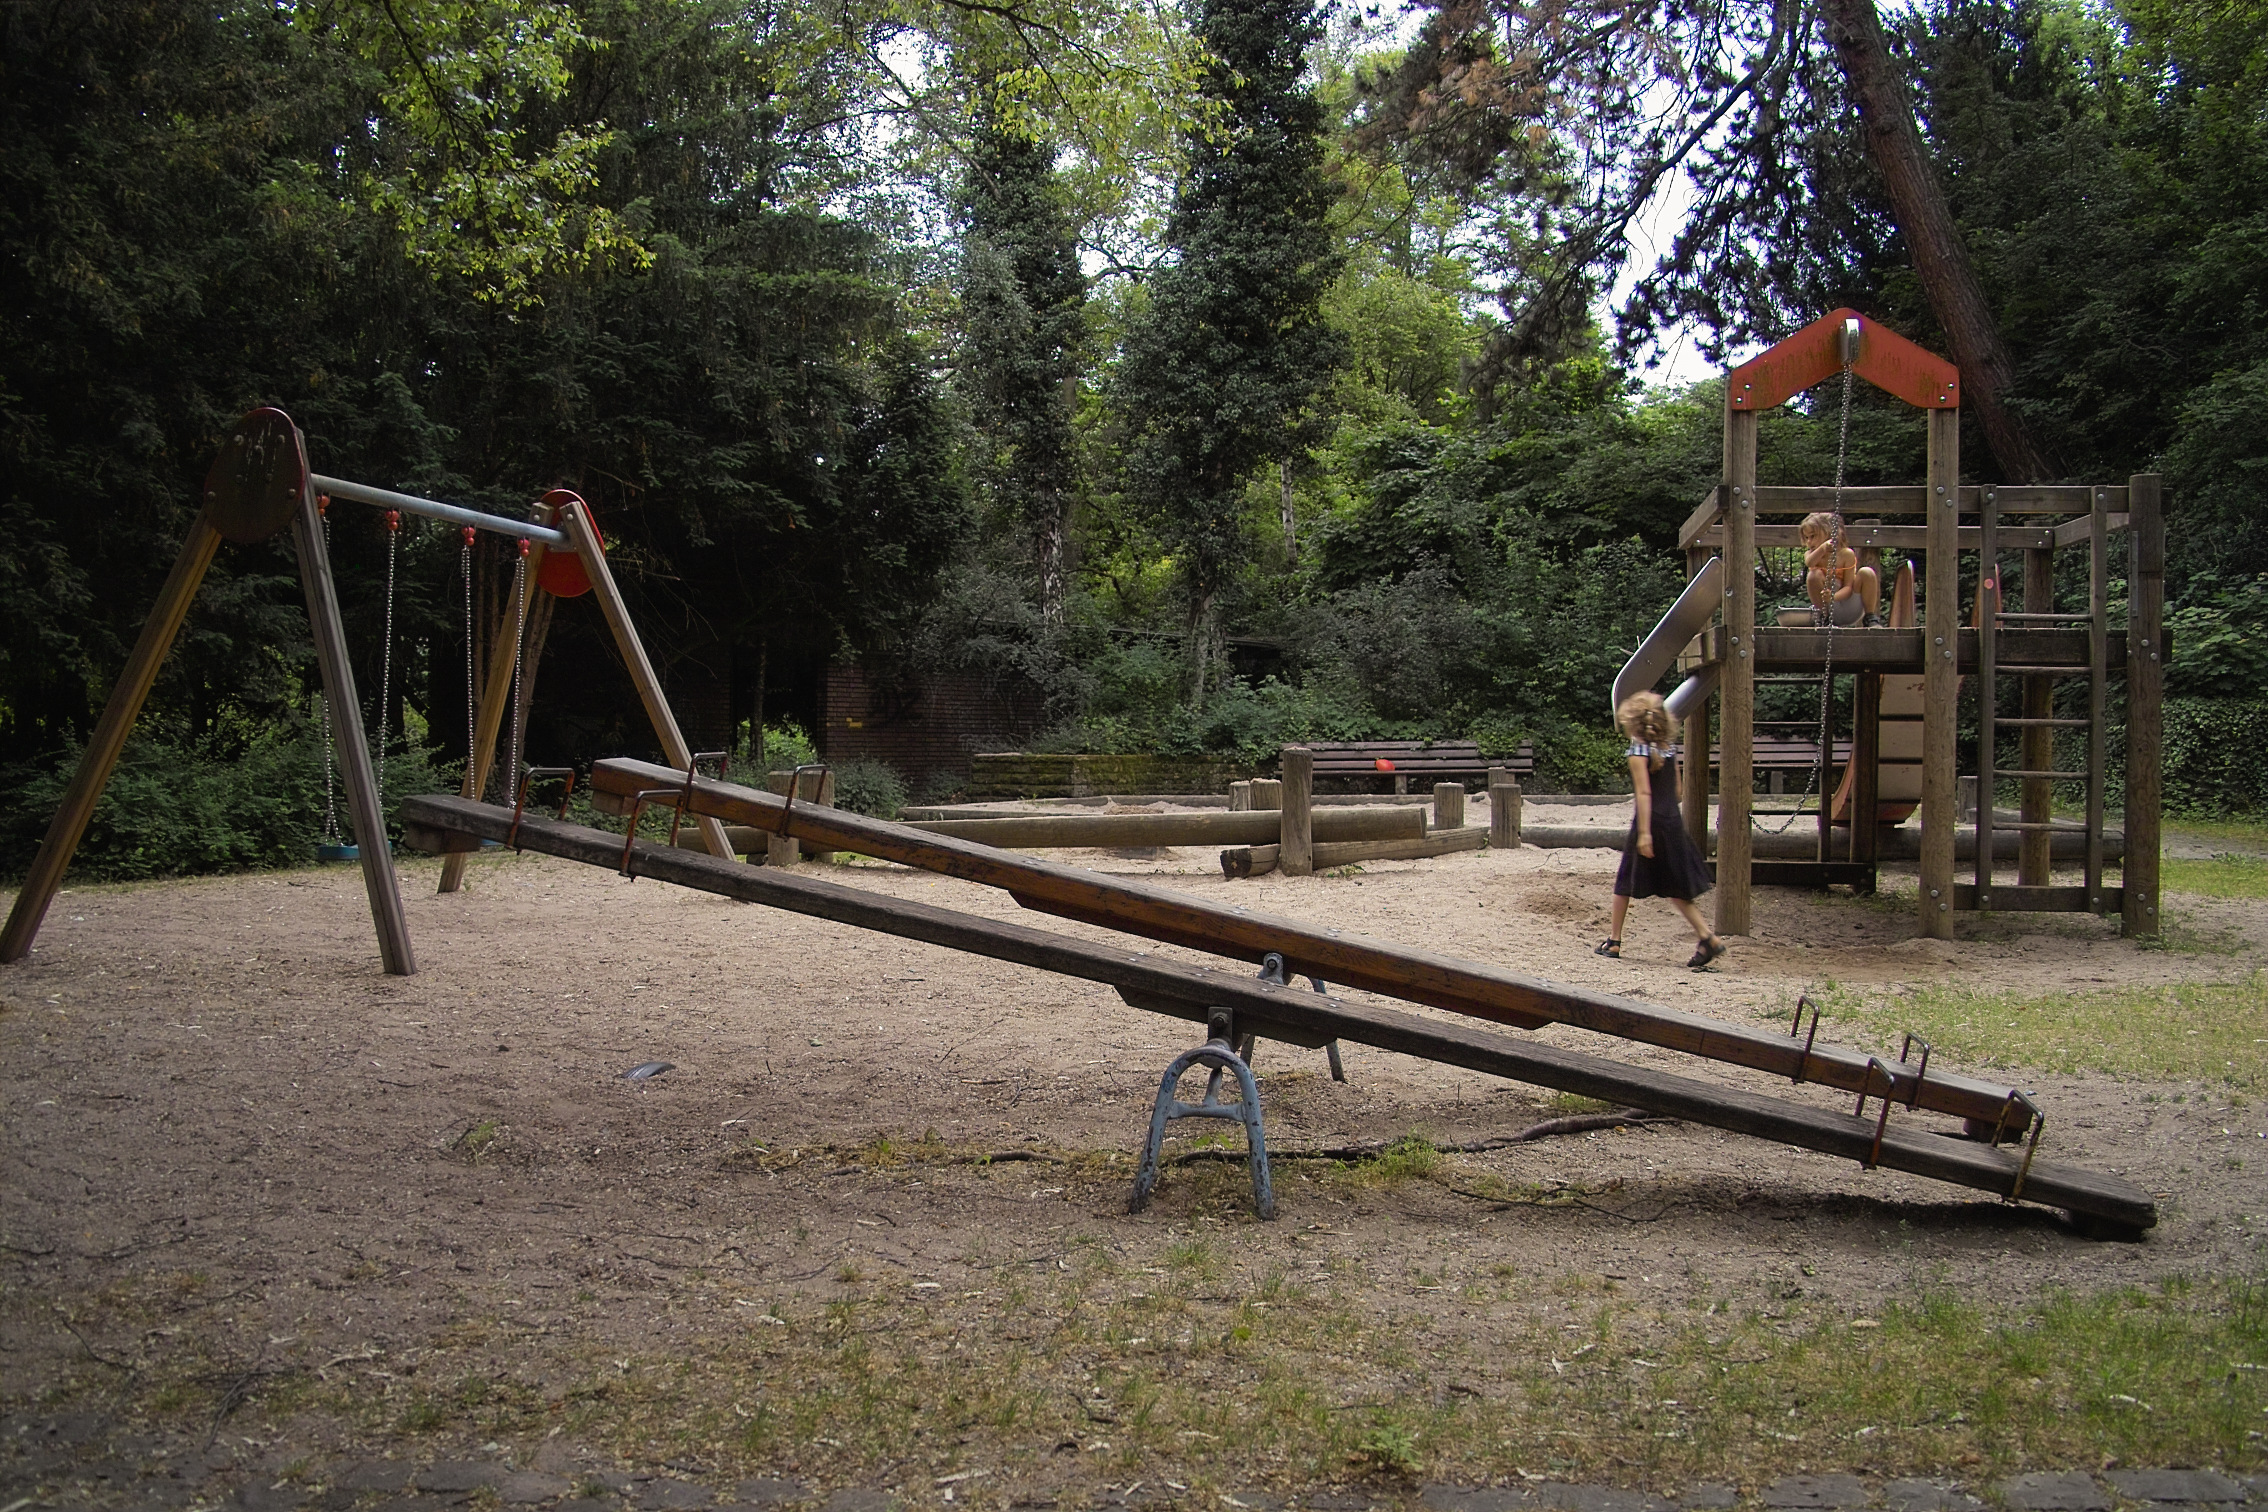
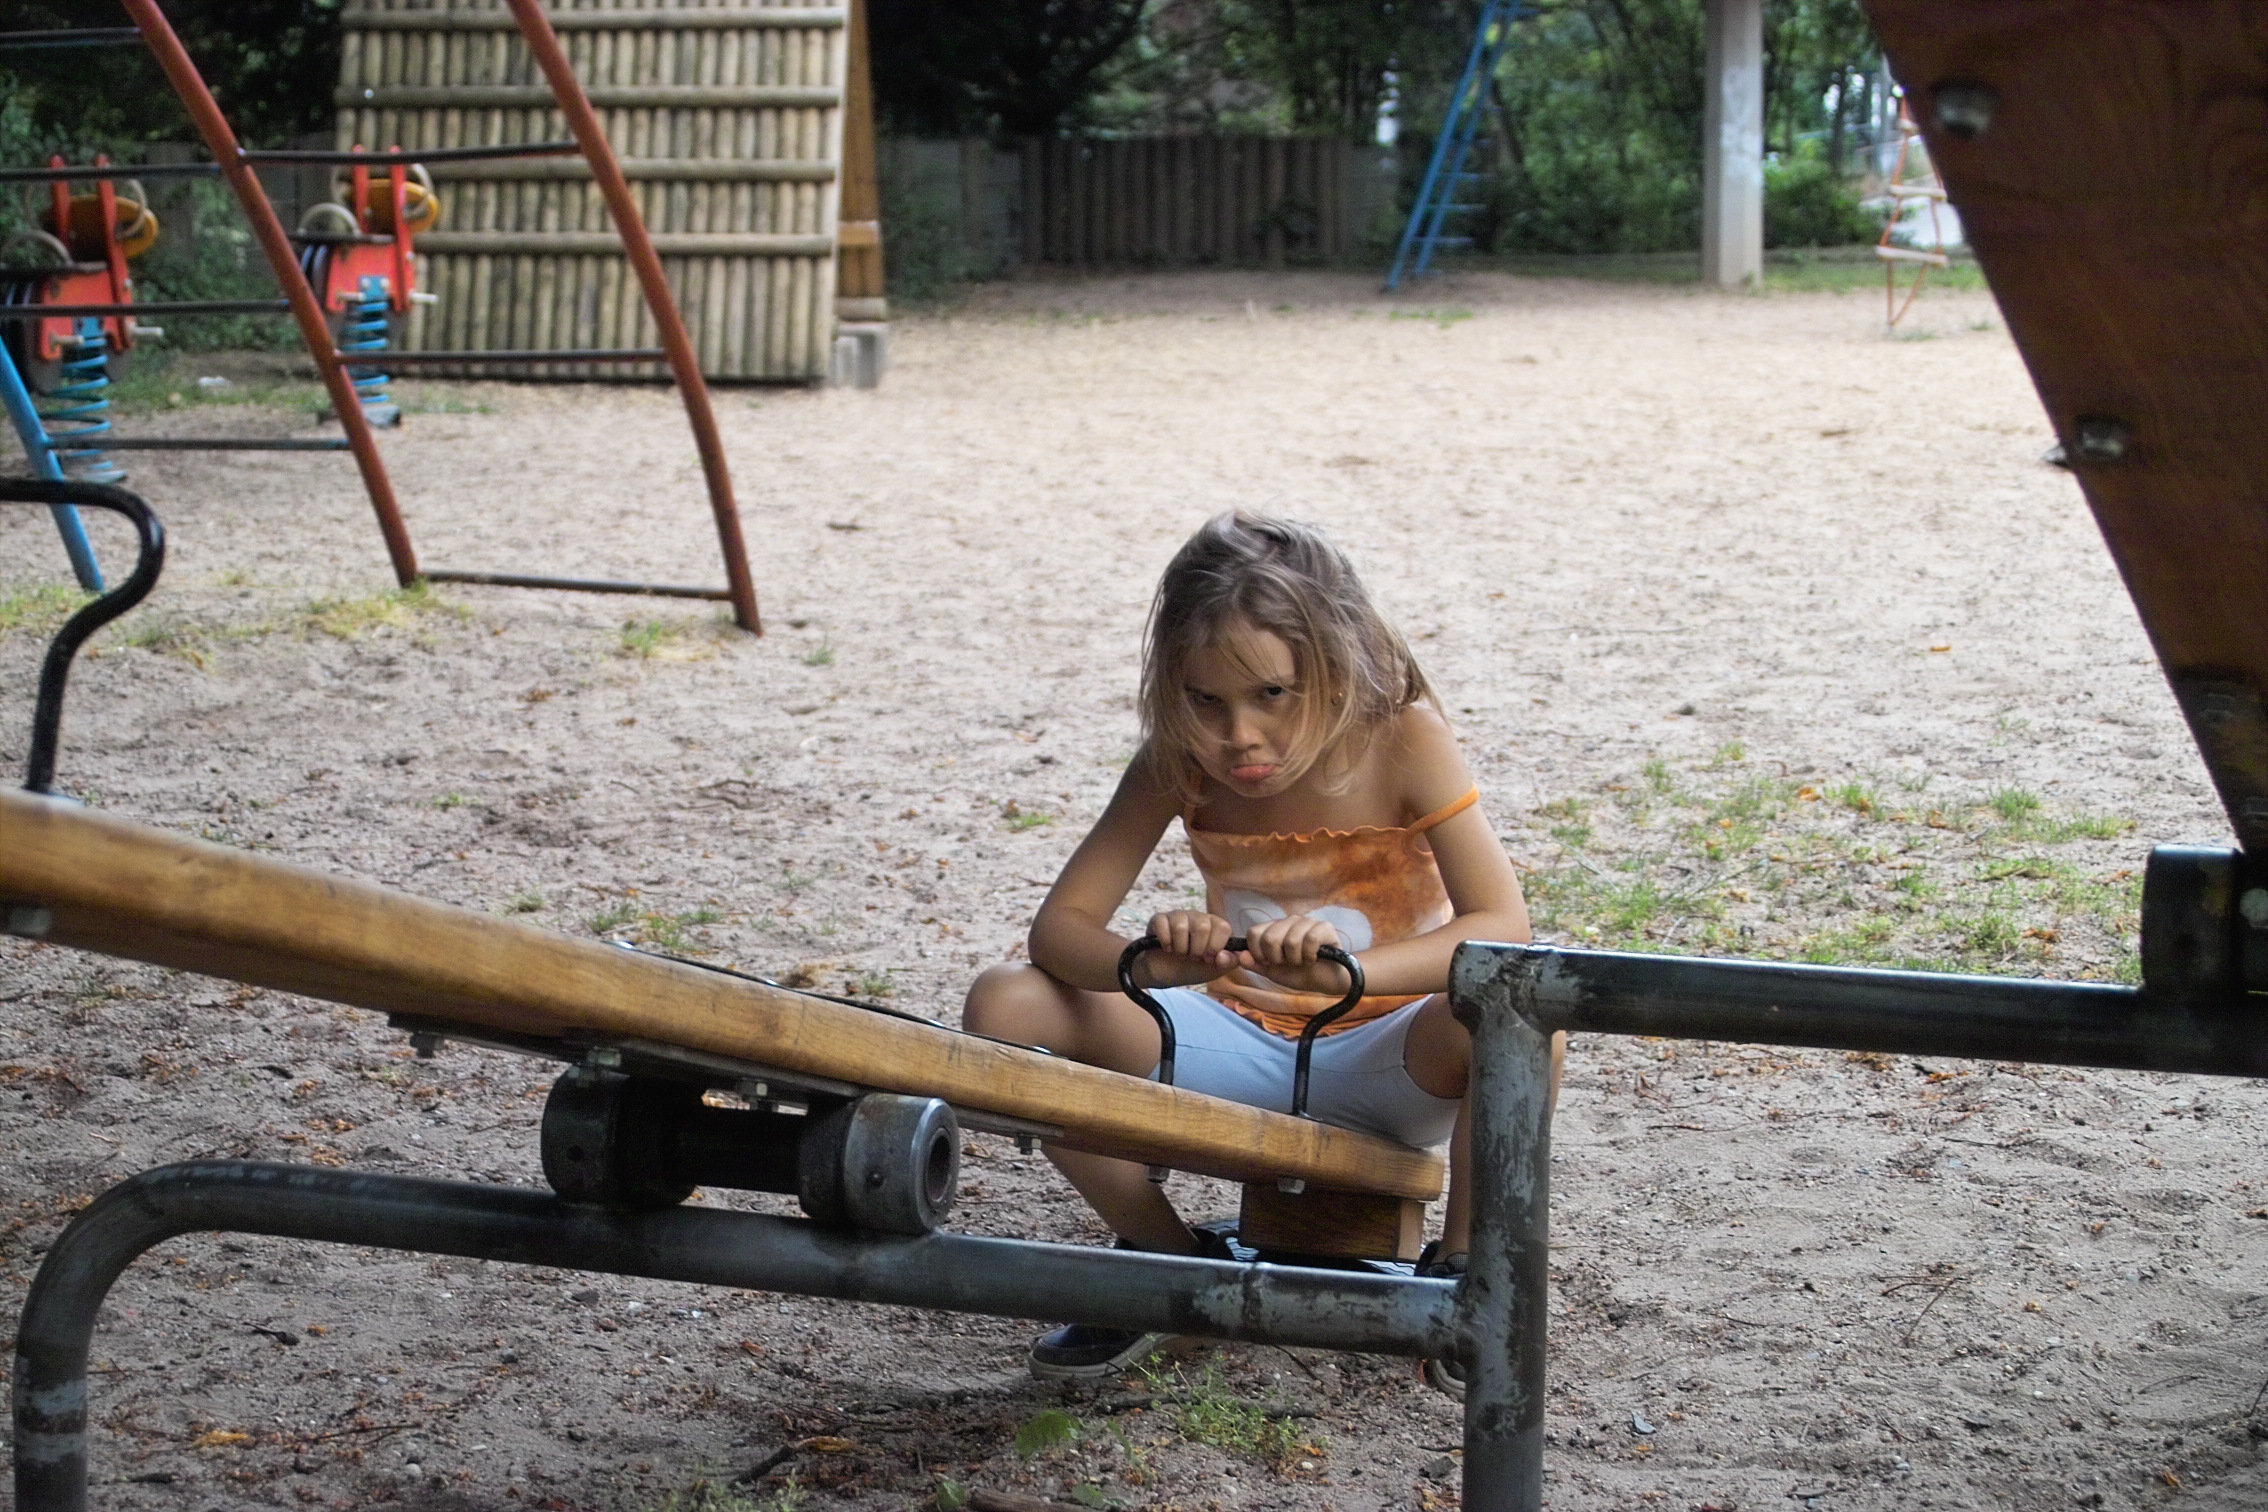
Now what is this... let me think...: a wide angle total of a deserted playground in bad light?
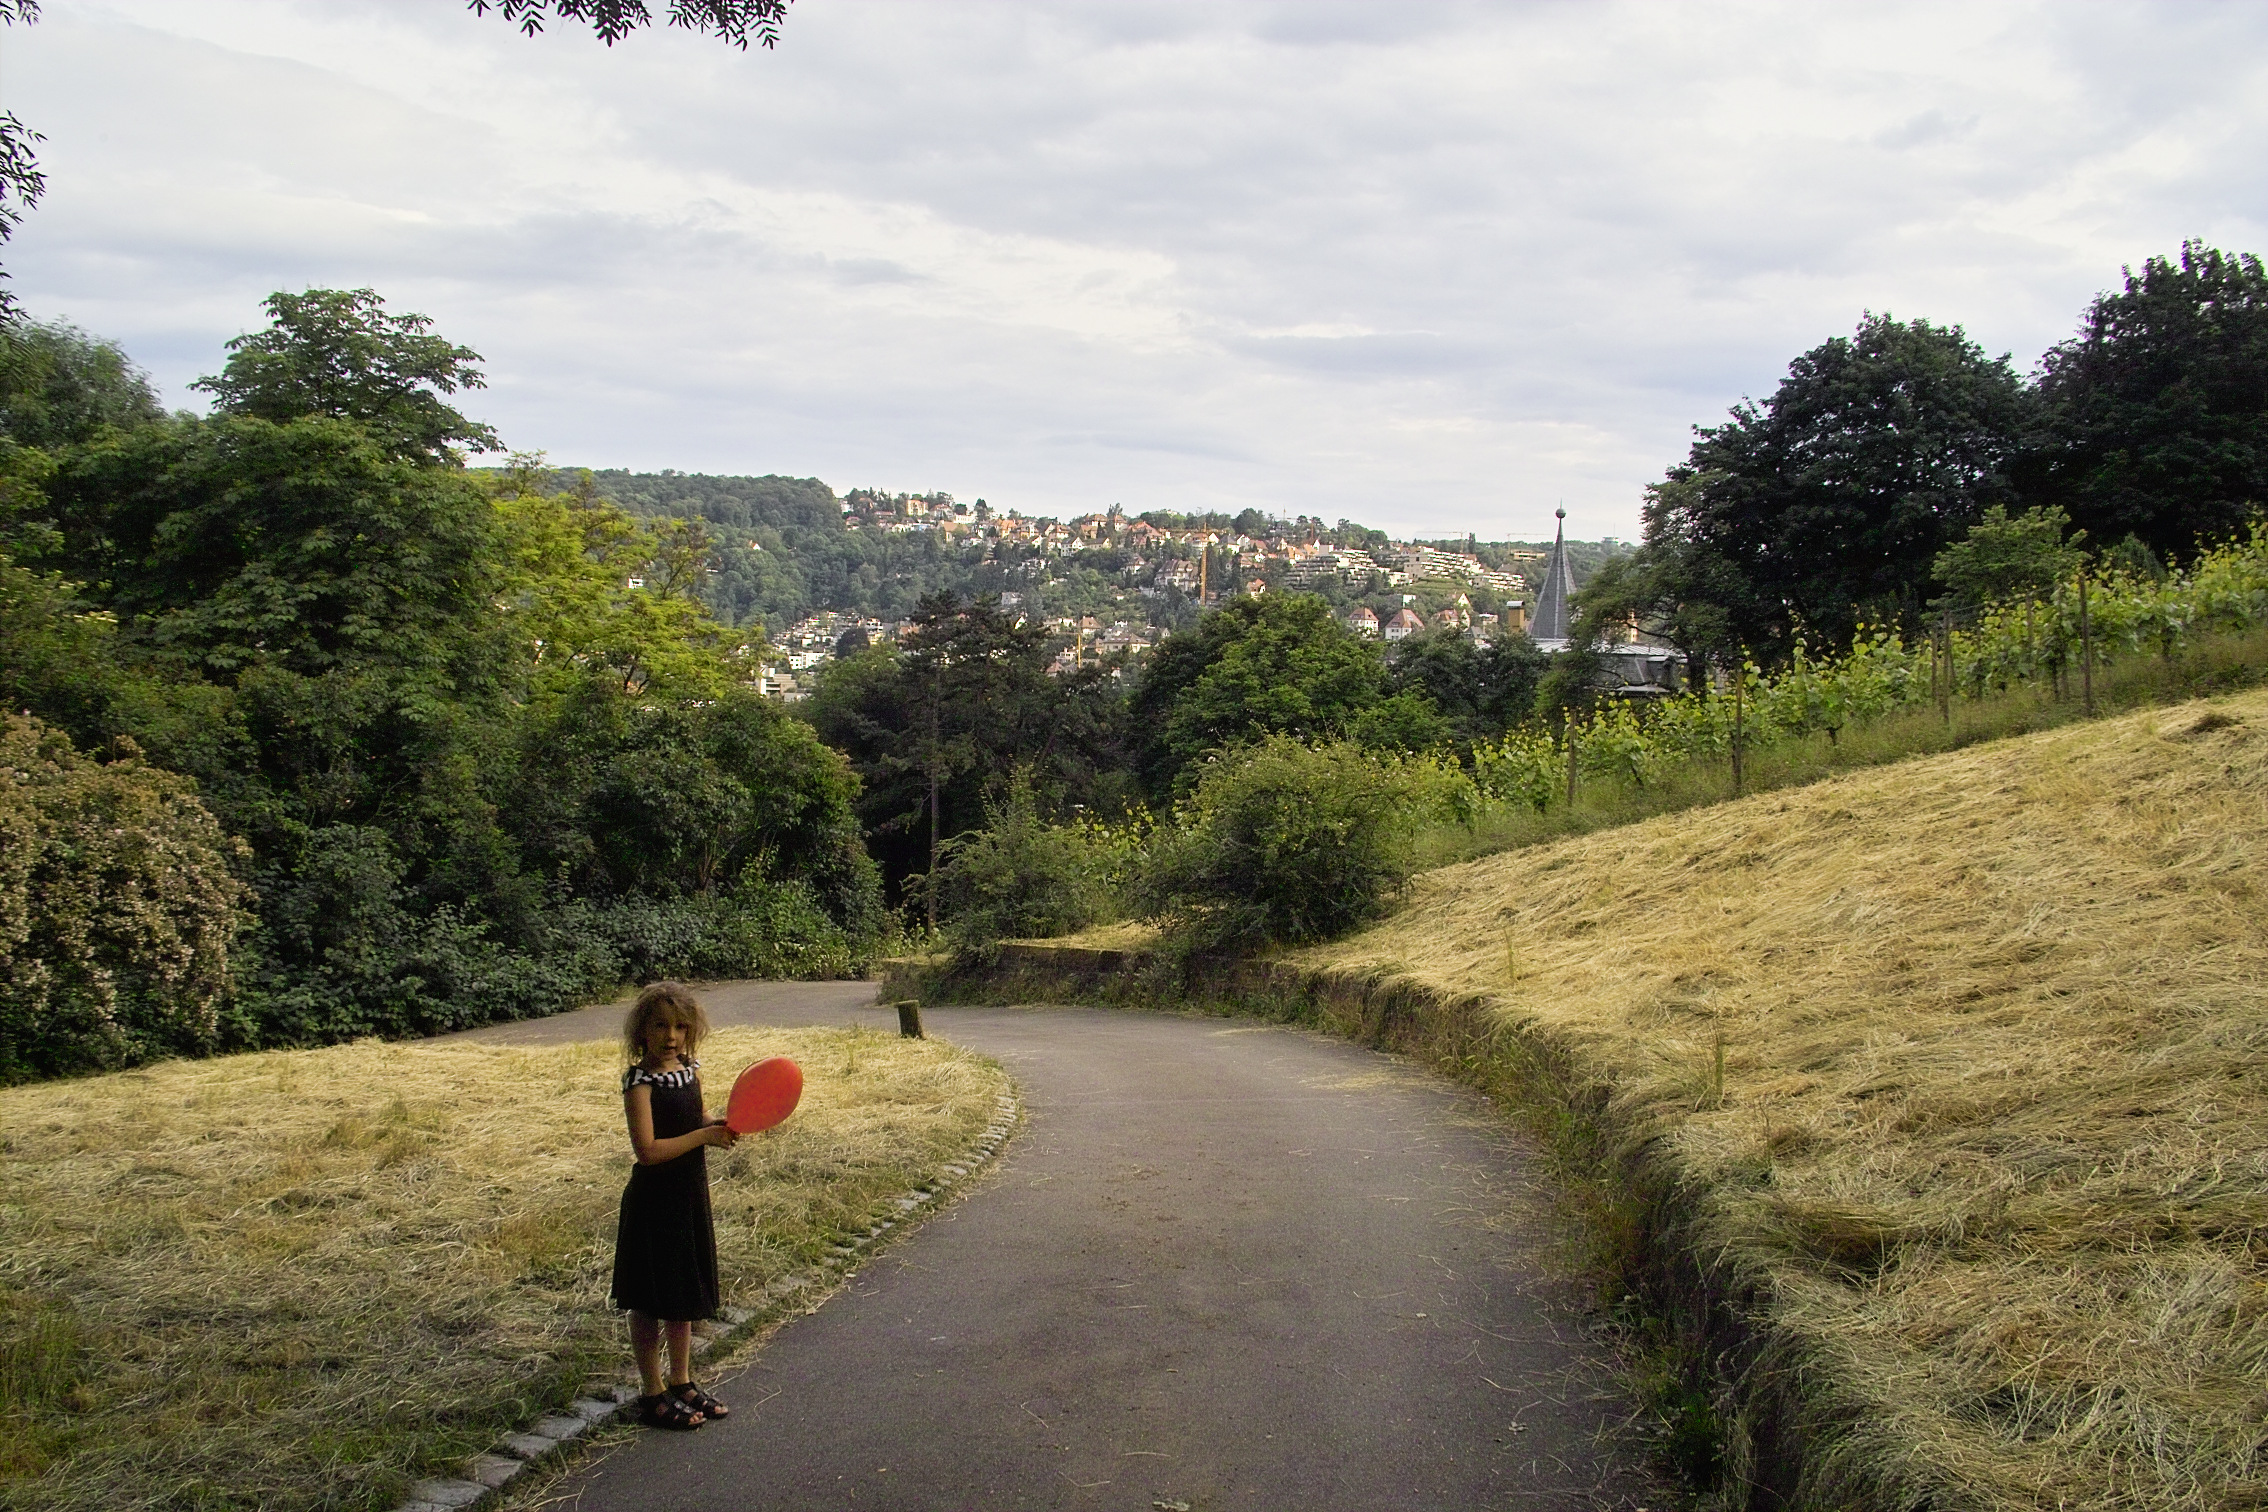
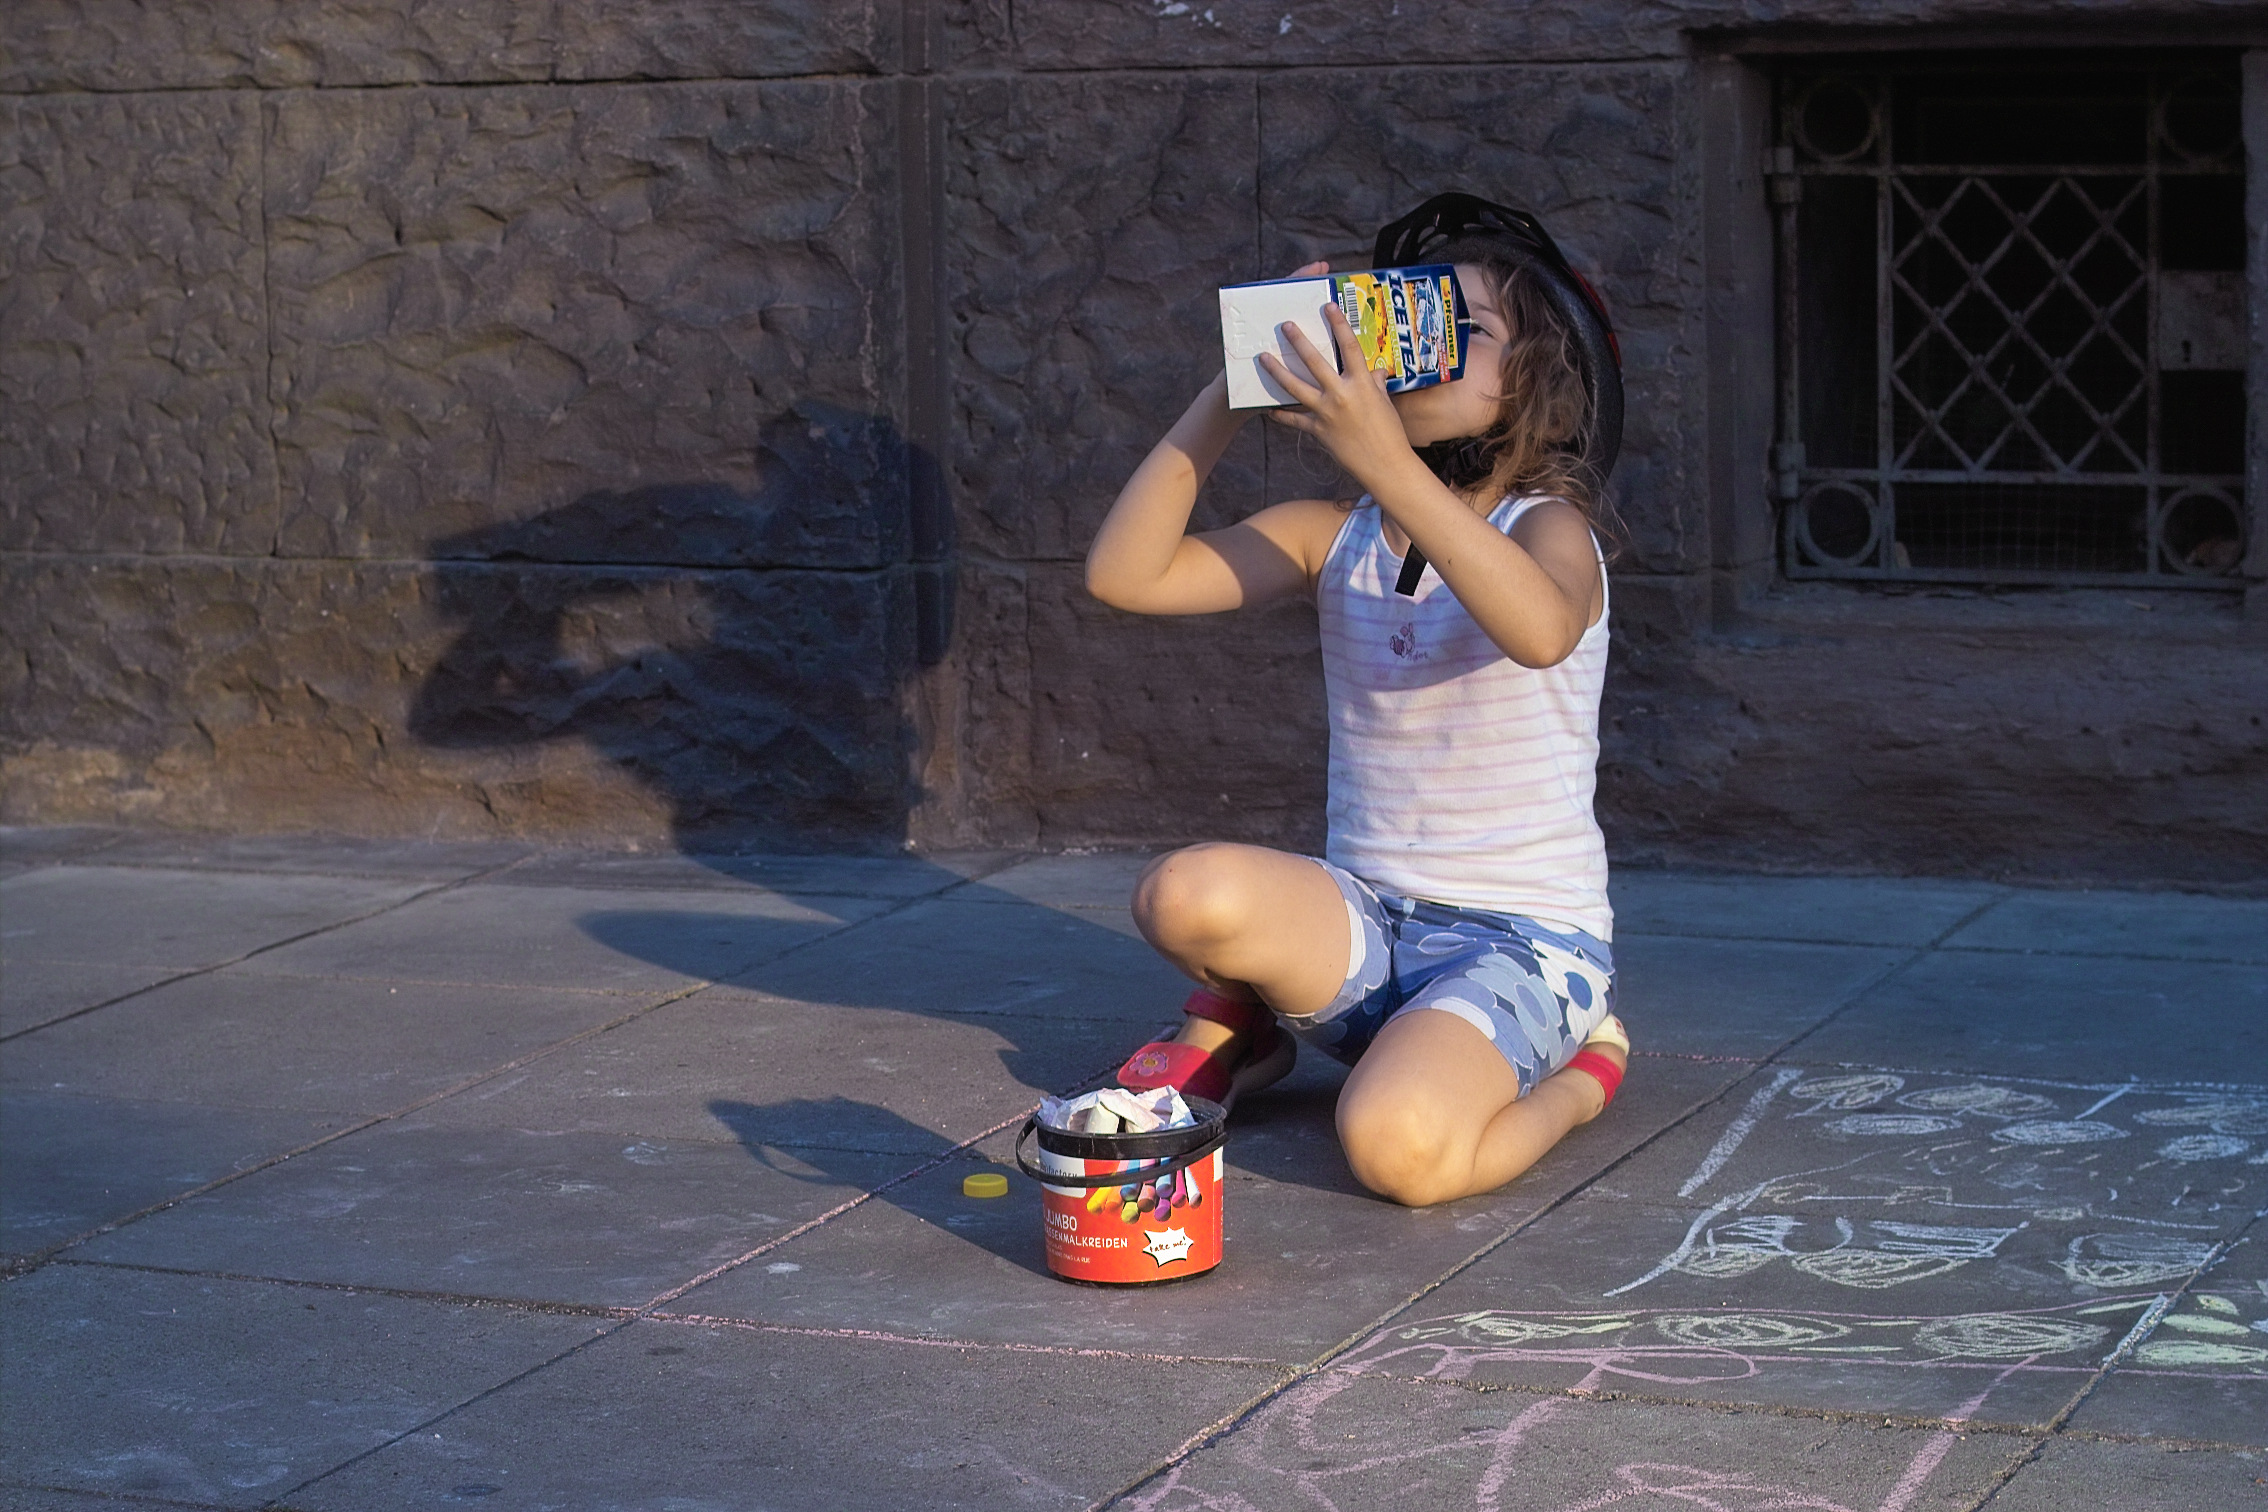
Here that's what I would use the short end of the tele zoom for. One of the rare photos of Rosa where she does not show a pre-fab face ;)

This one shows the benefit of a wide angle lens as well as a good use for the fill light feature of the SPP software.
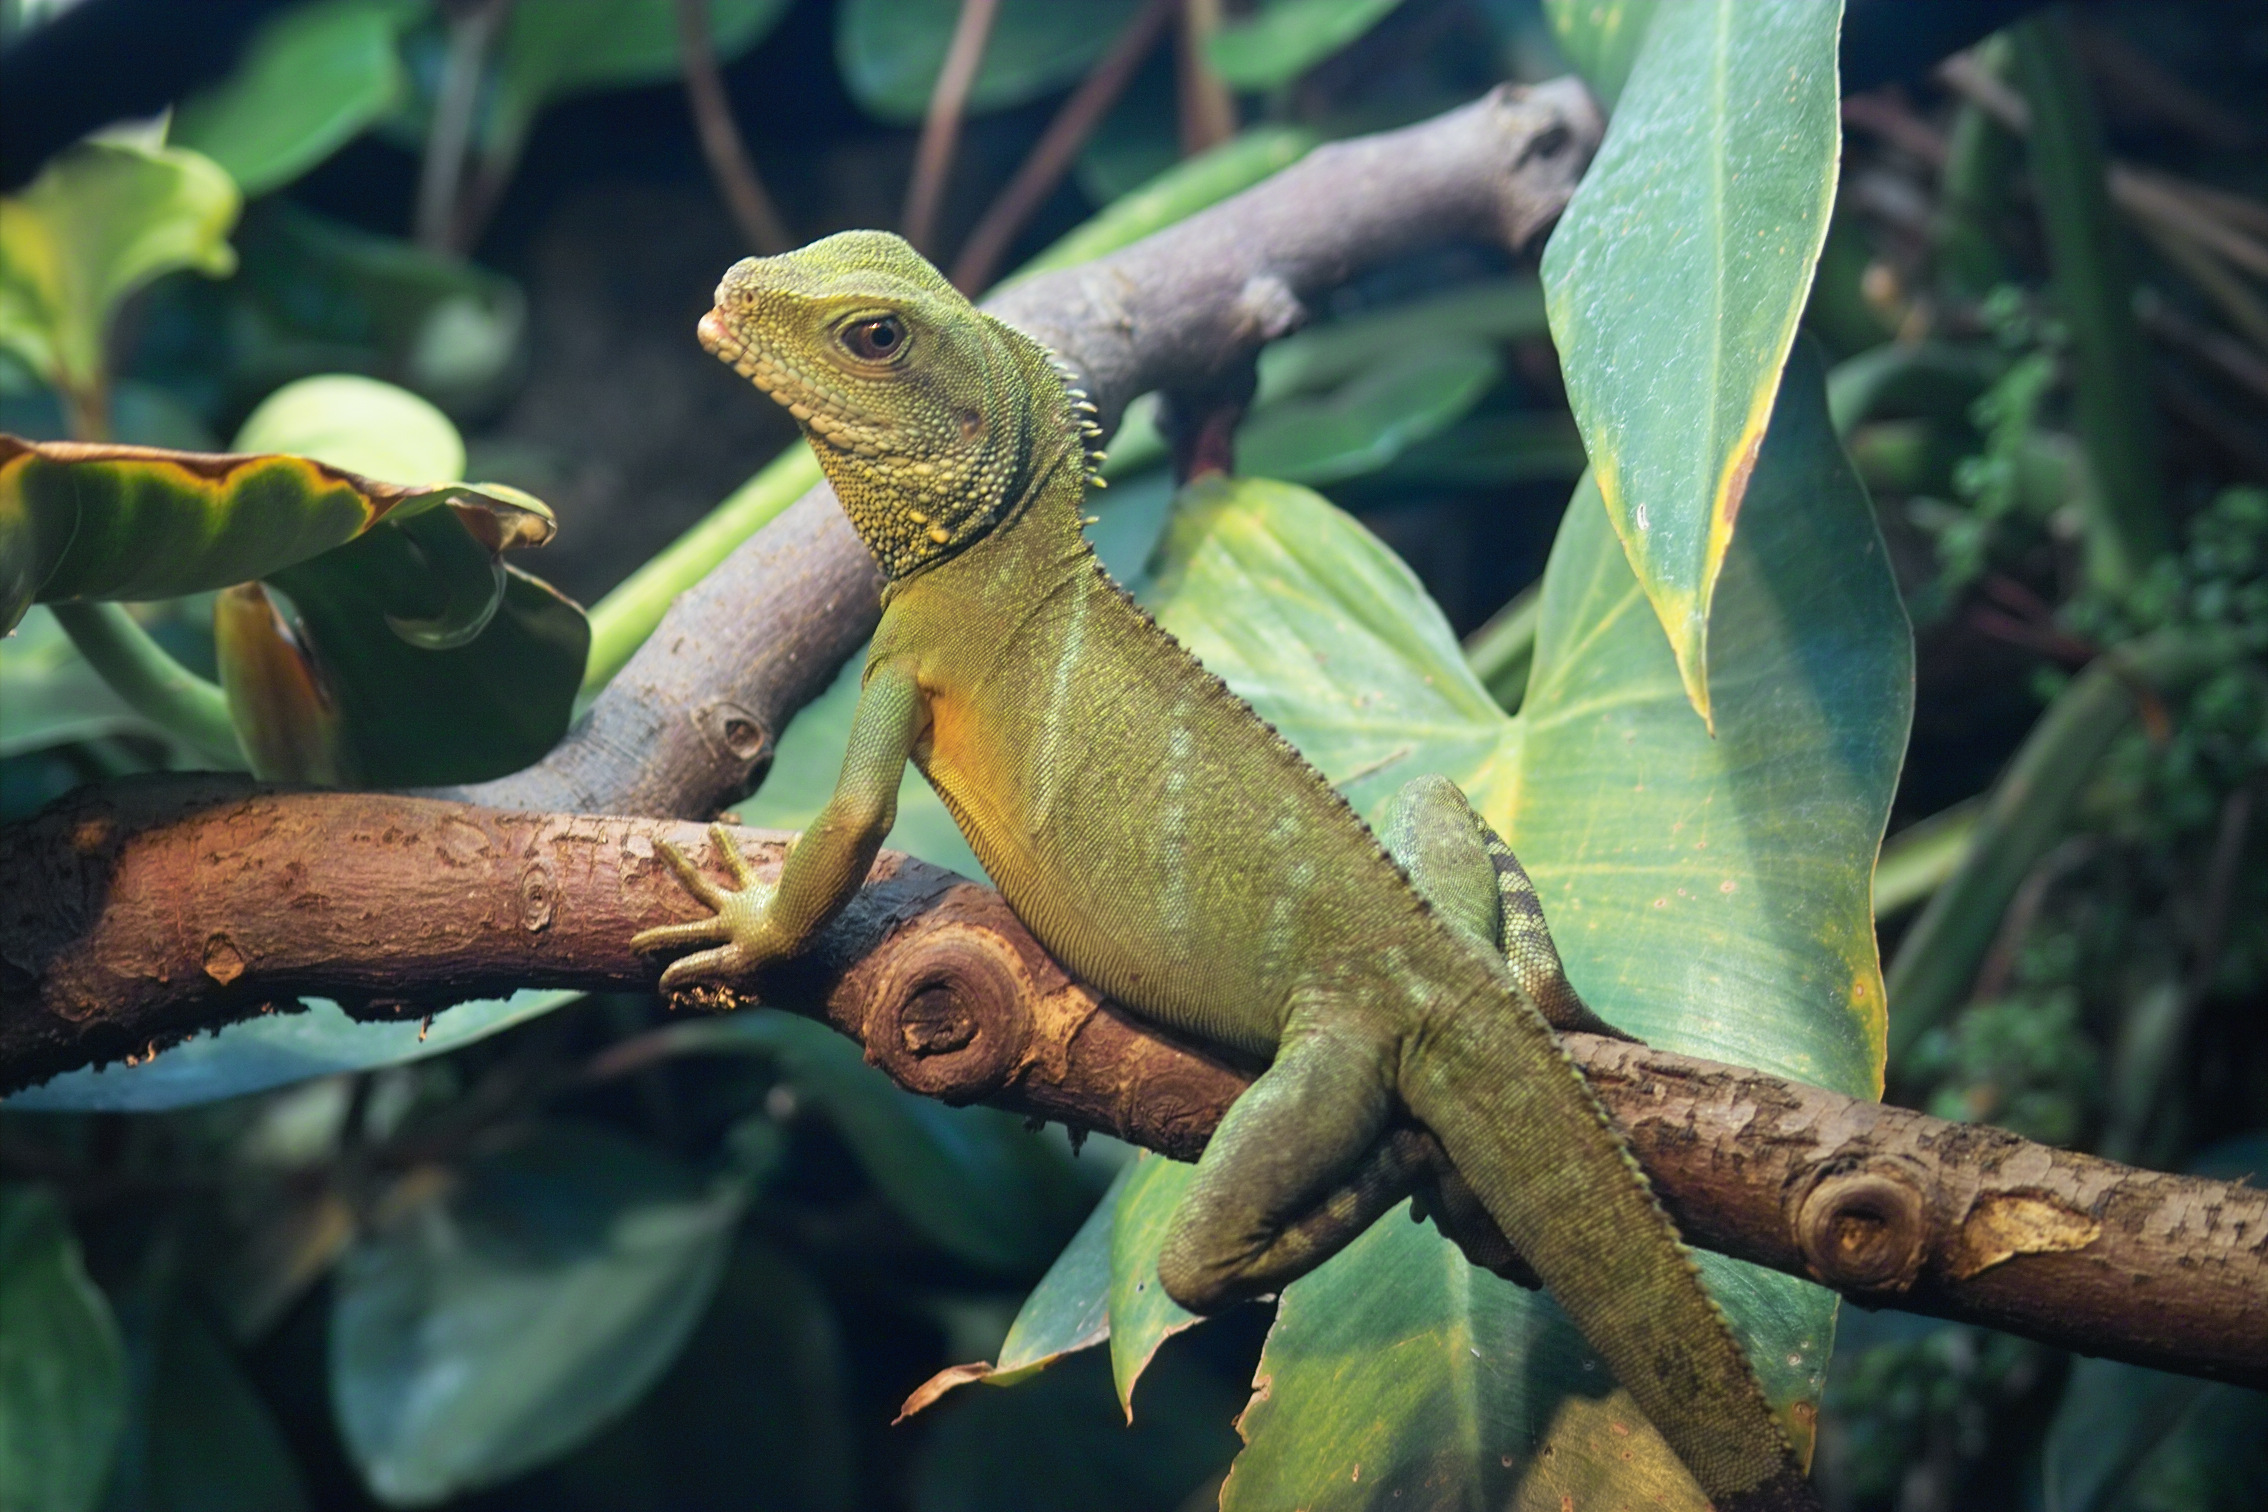
One of my Waterdragons, with ye aude tele zoom, just artificial light of the enclosure.
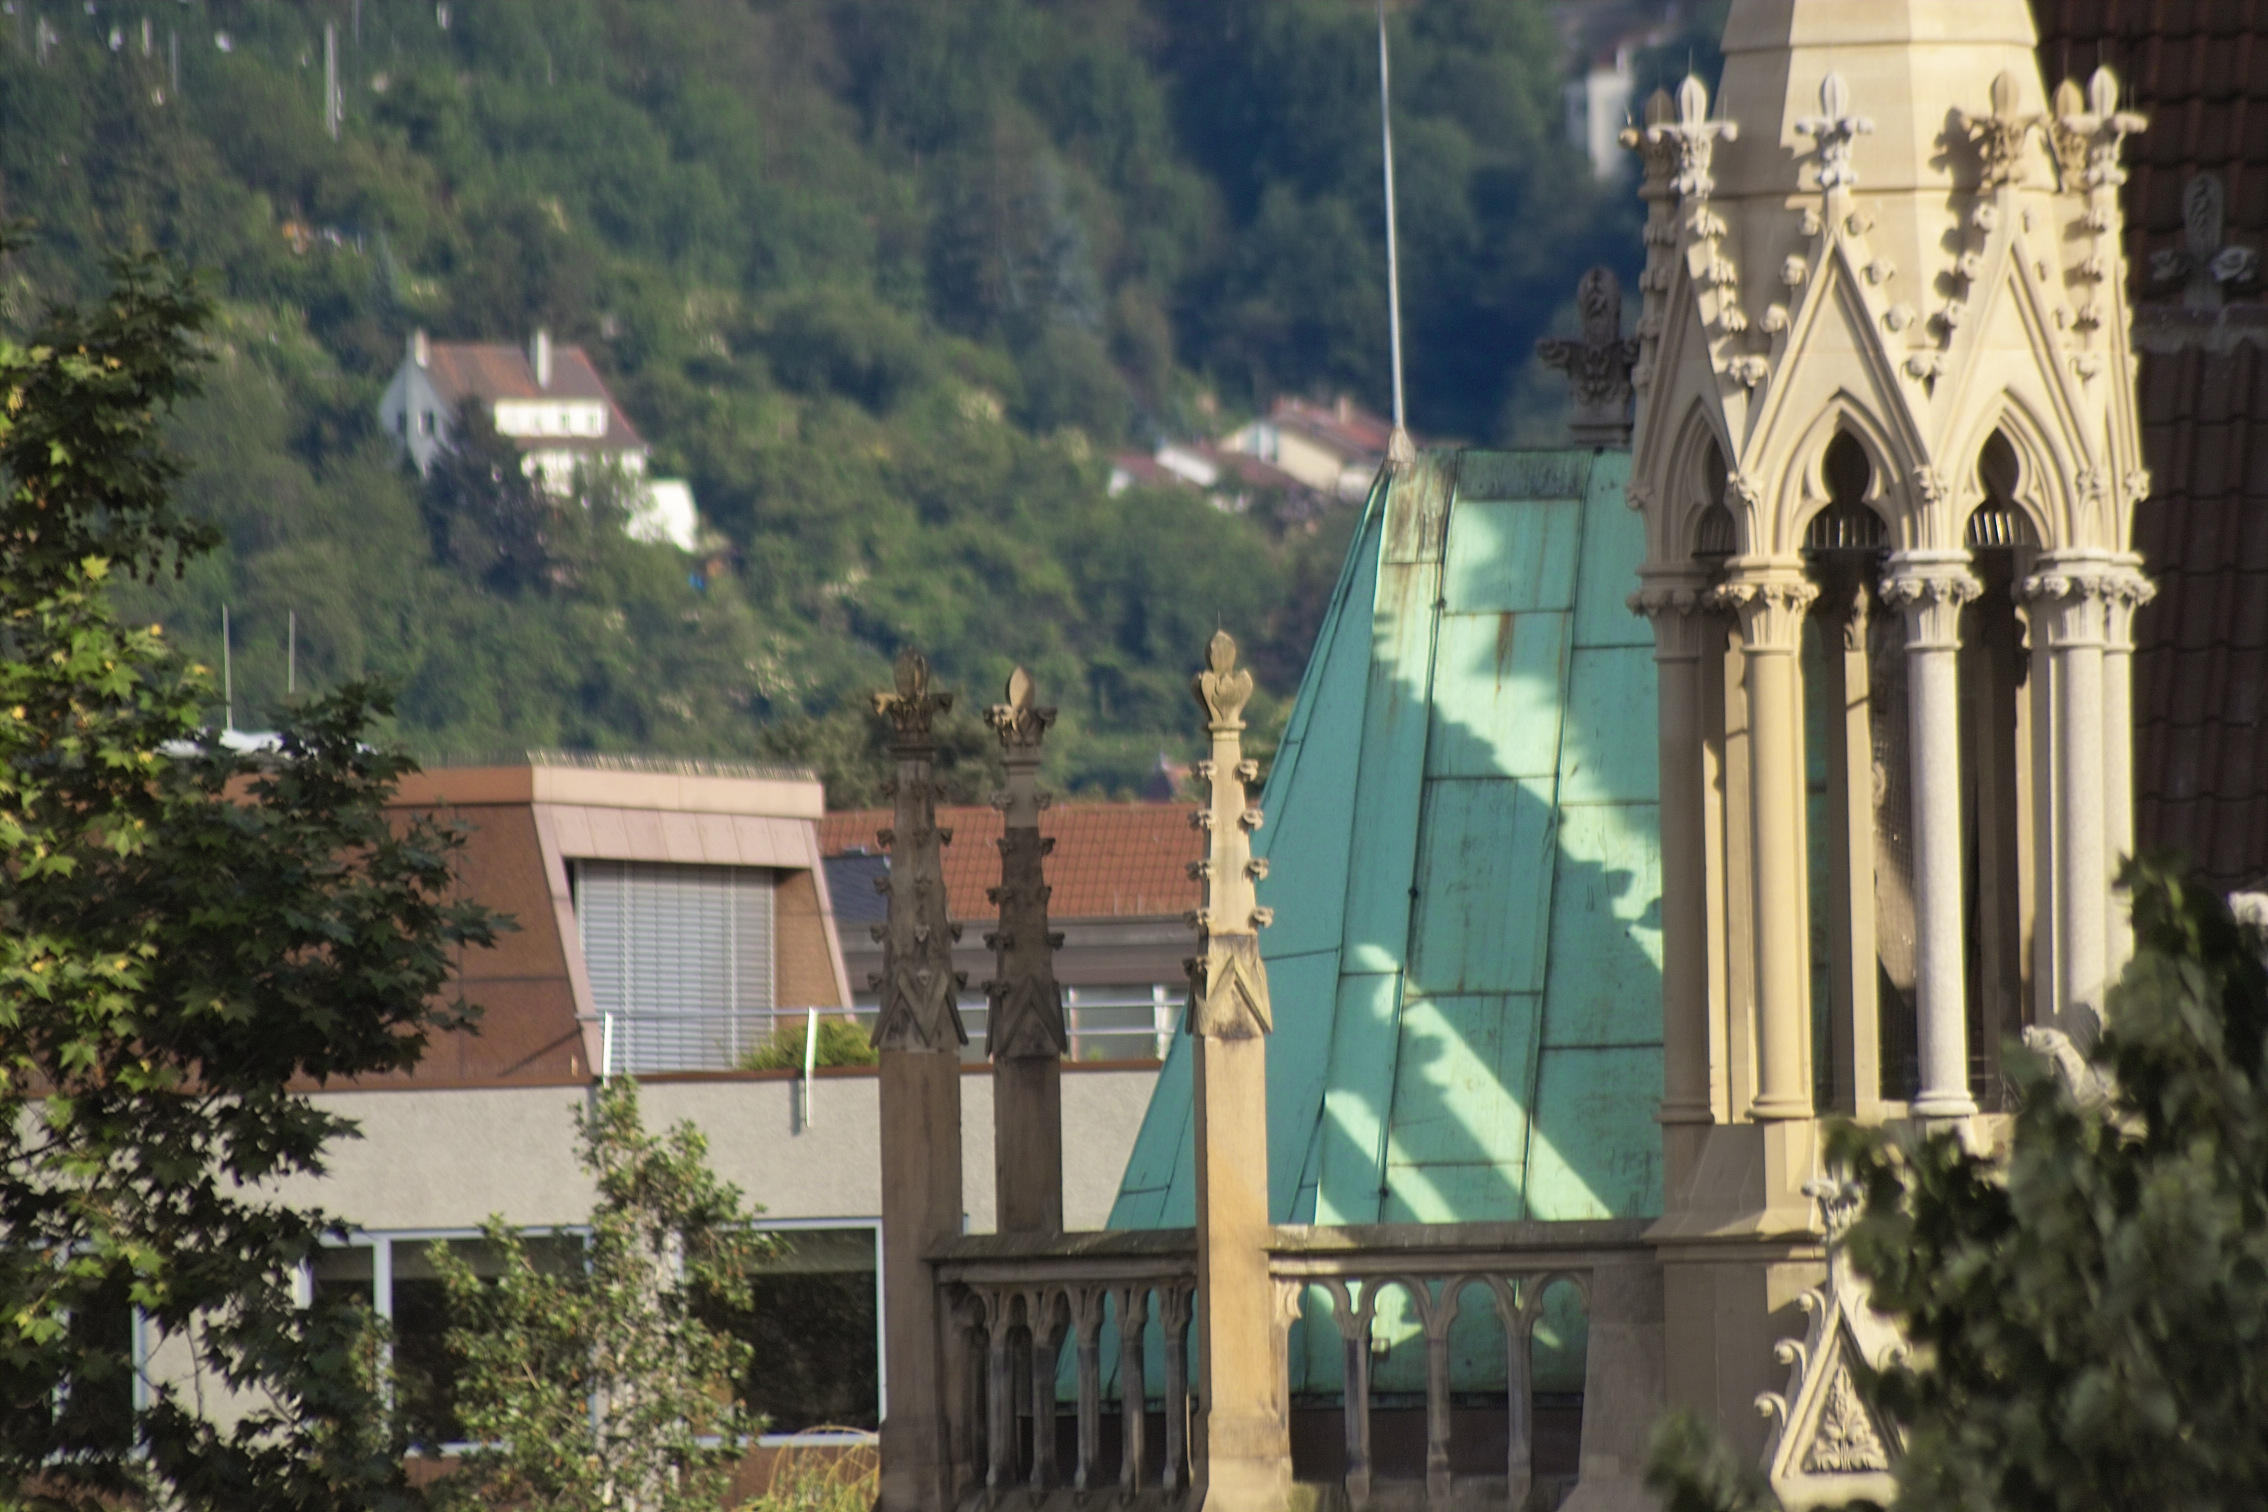
Ye aude tele zoom at it's full 300mm, handheld, just a test shot but also shows one use of tele: collocates a detail of our pseudo gothic church, 100m away from my balcony, with an extremeley ugly 80's style house that is actually another 200m away.

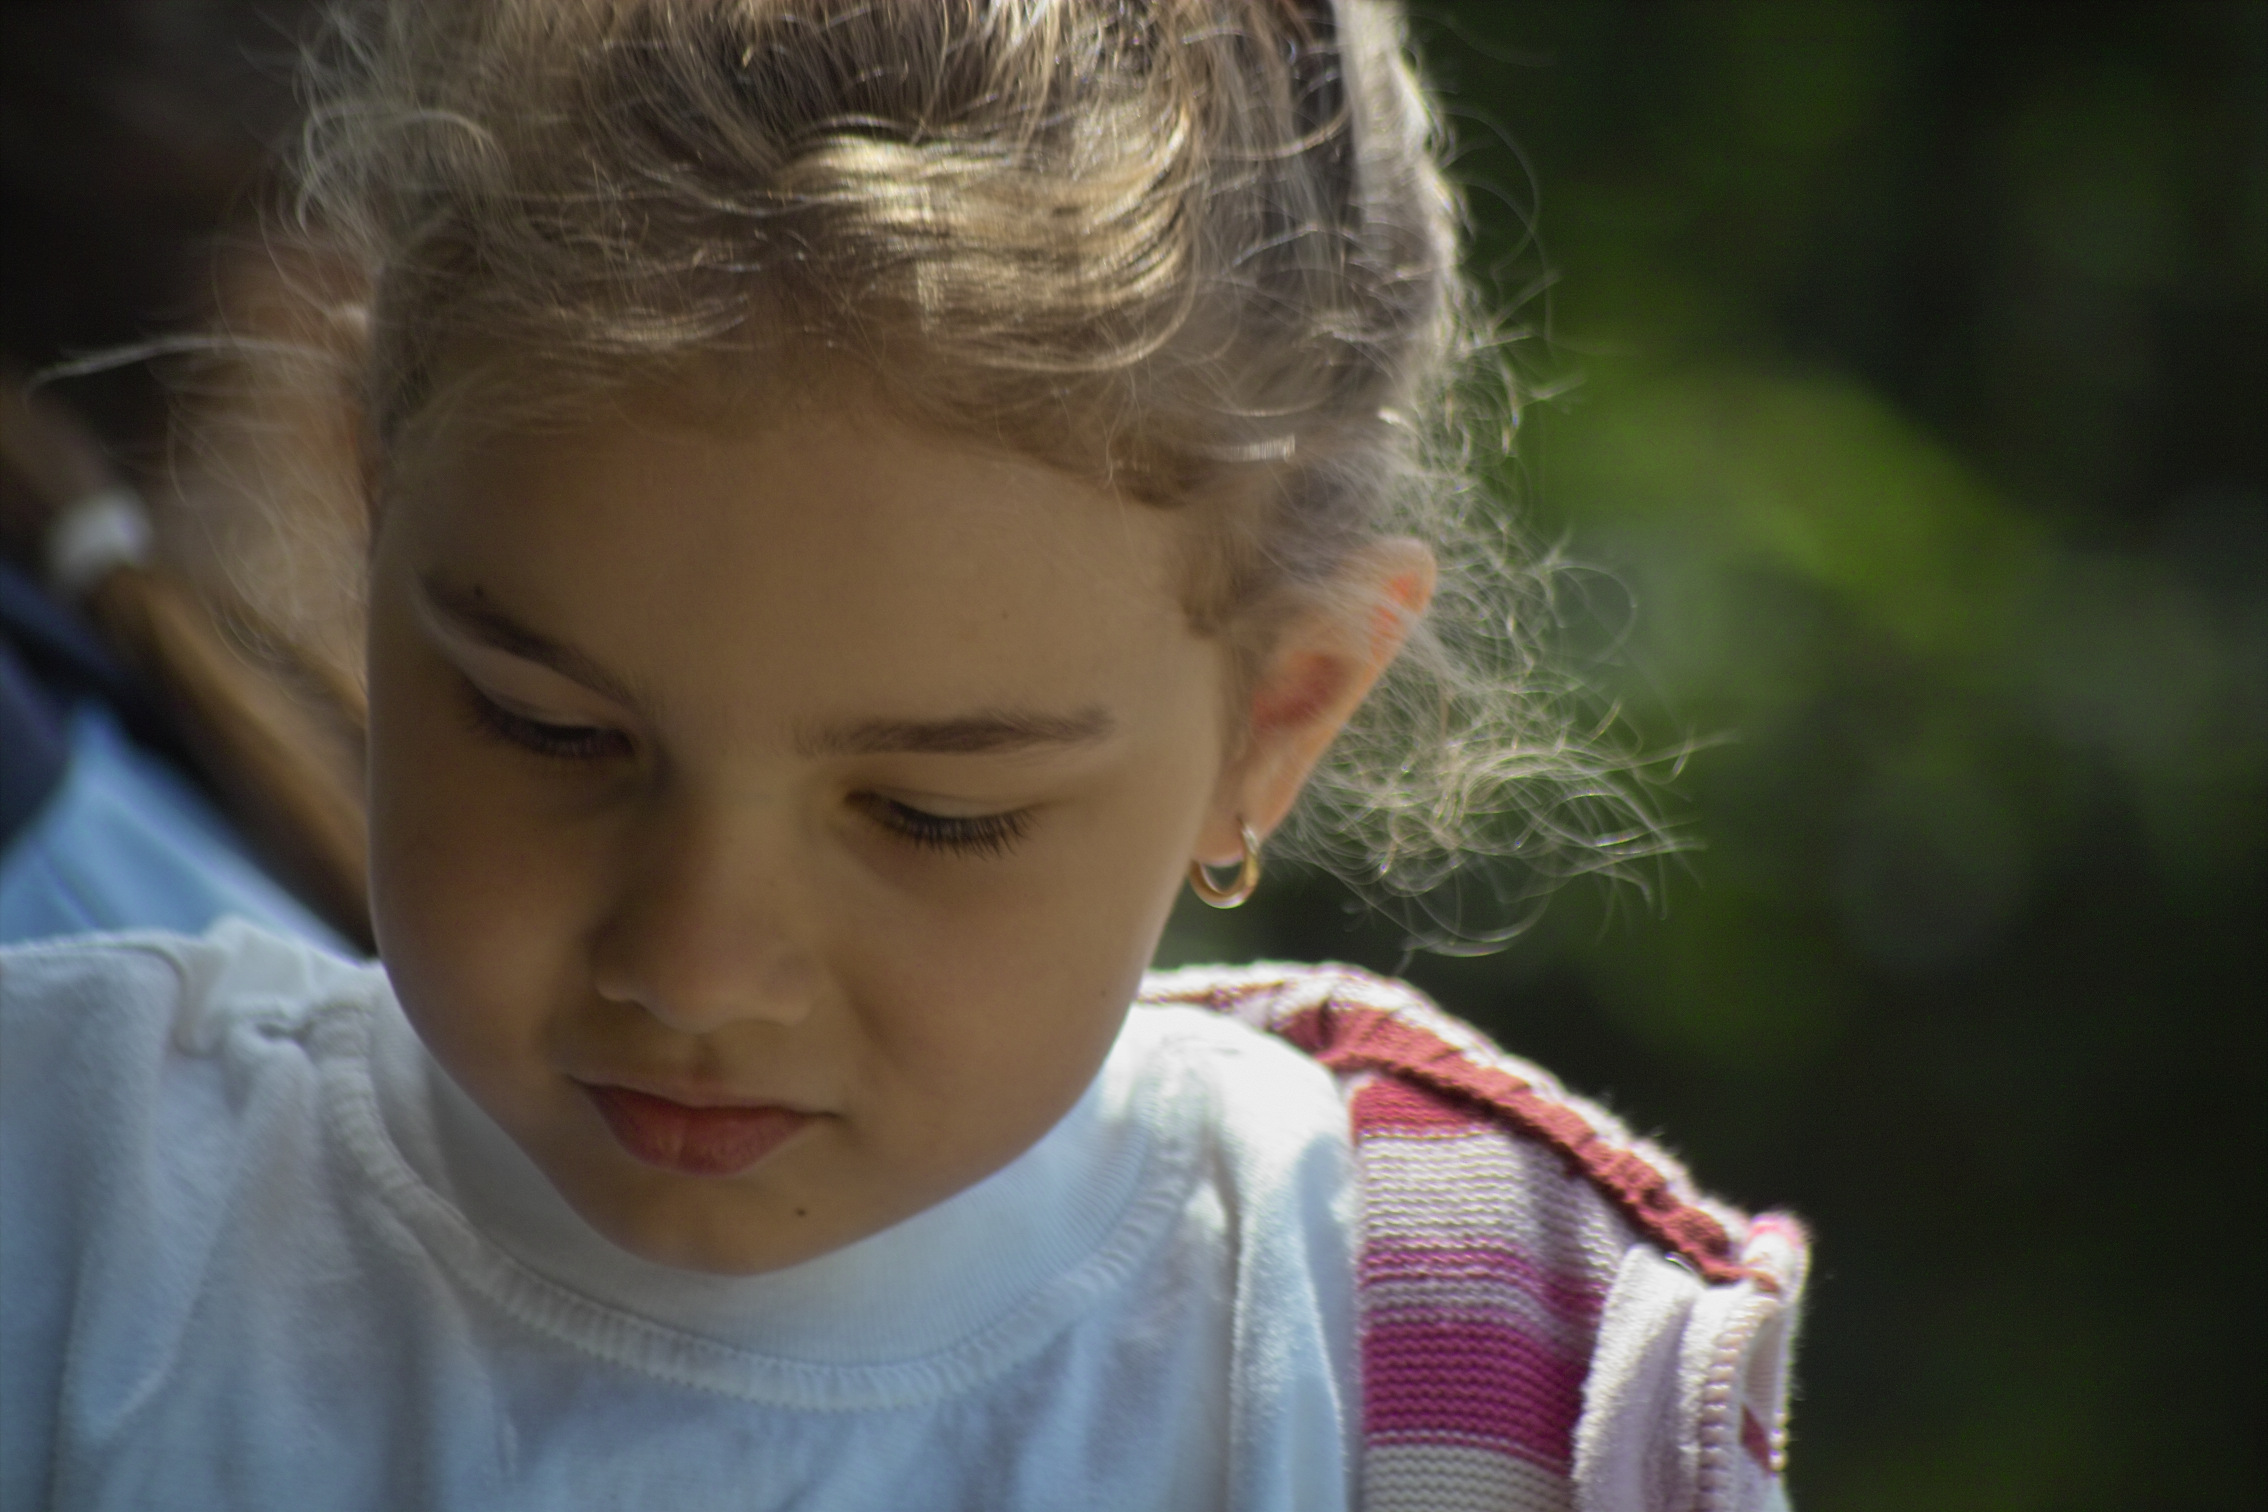
Back to business: a portrait, child (yes it's Rosa)
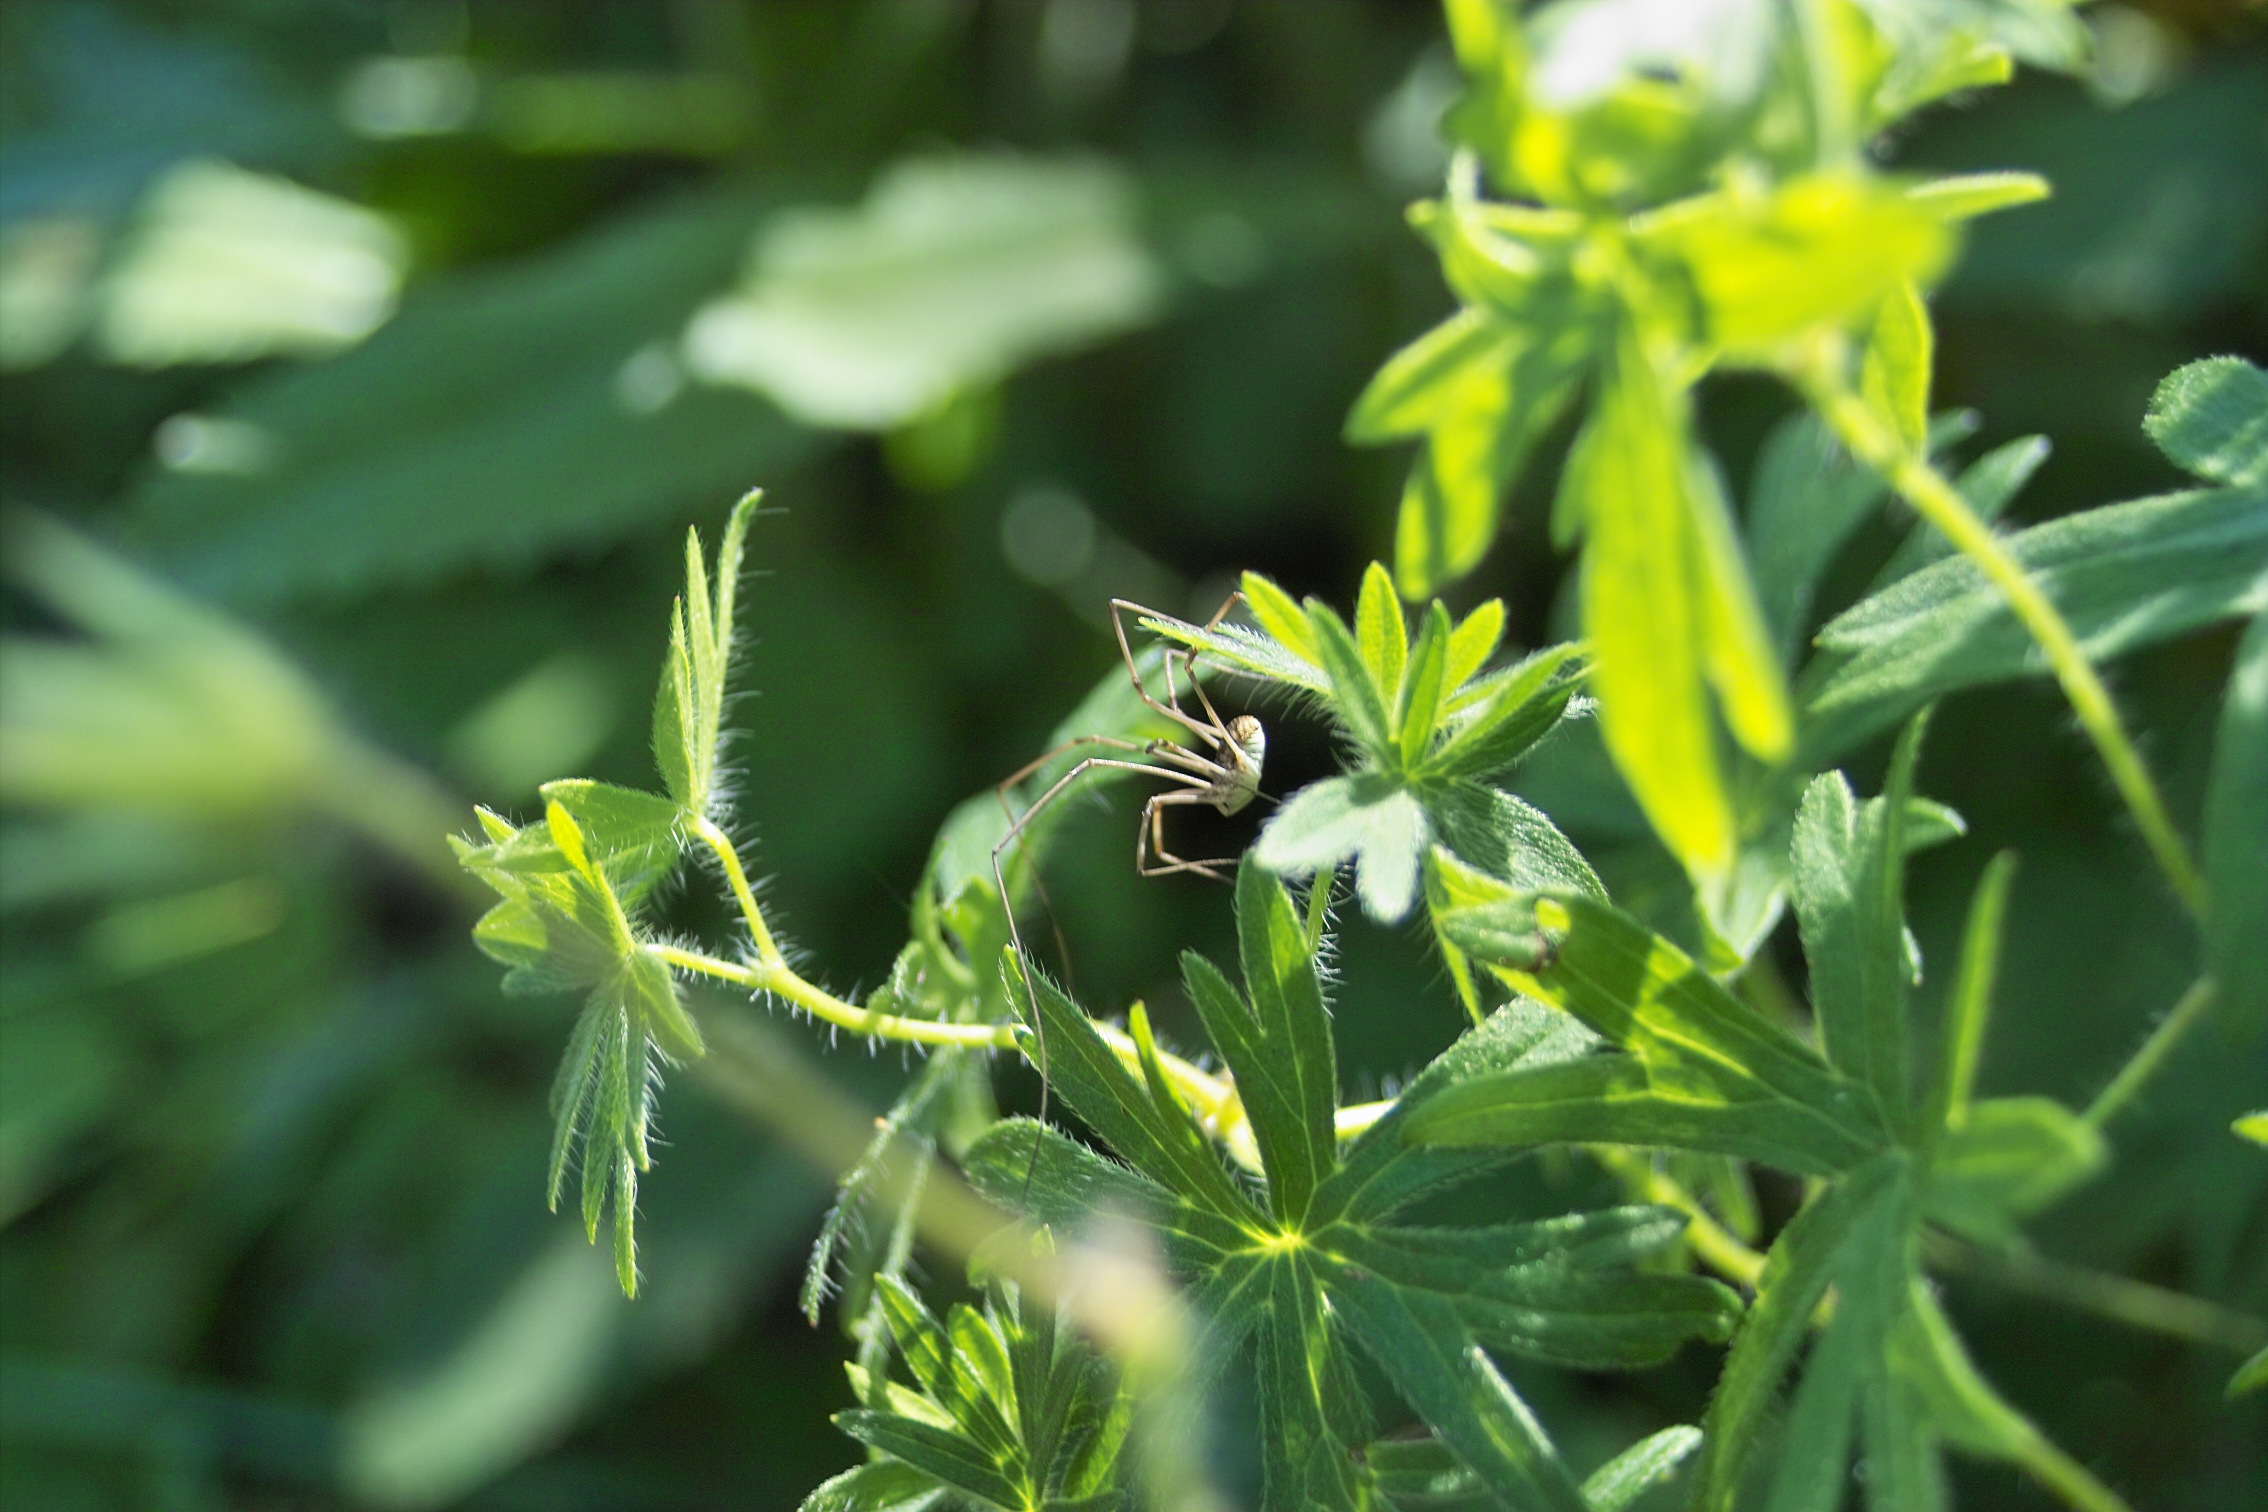
Macro with the kit lens: a spider
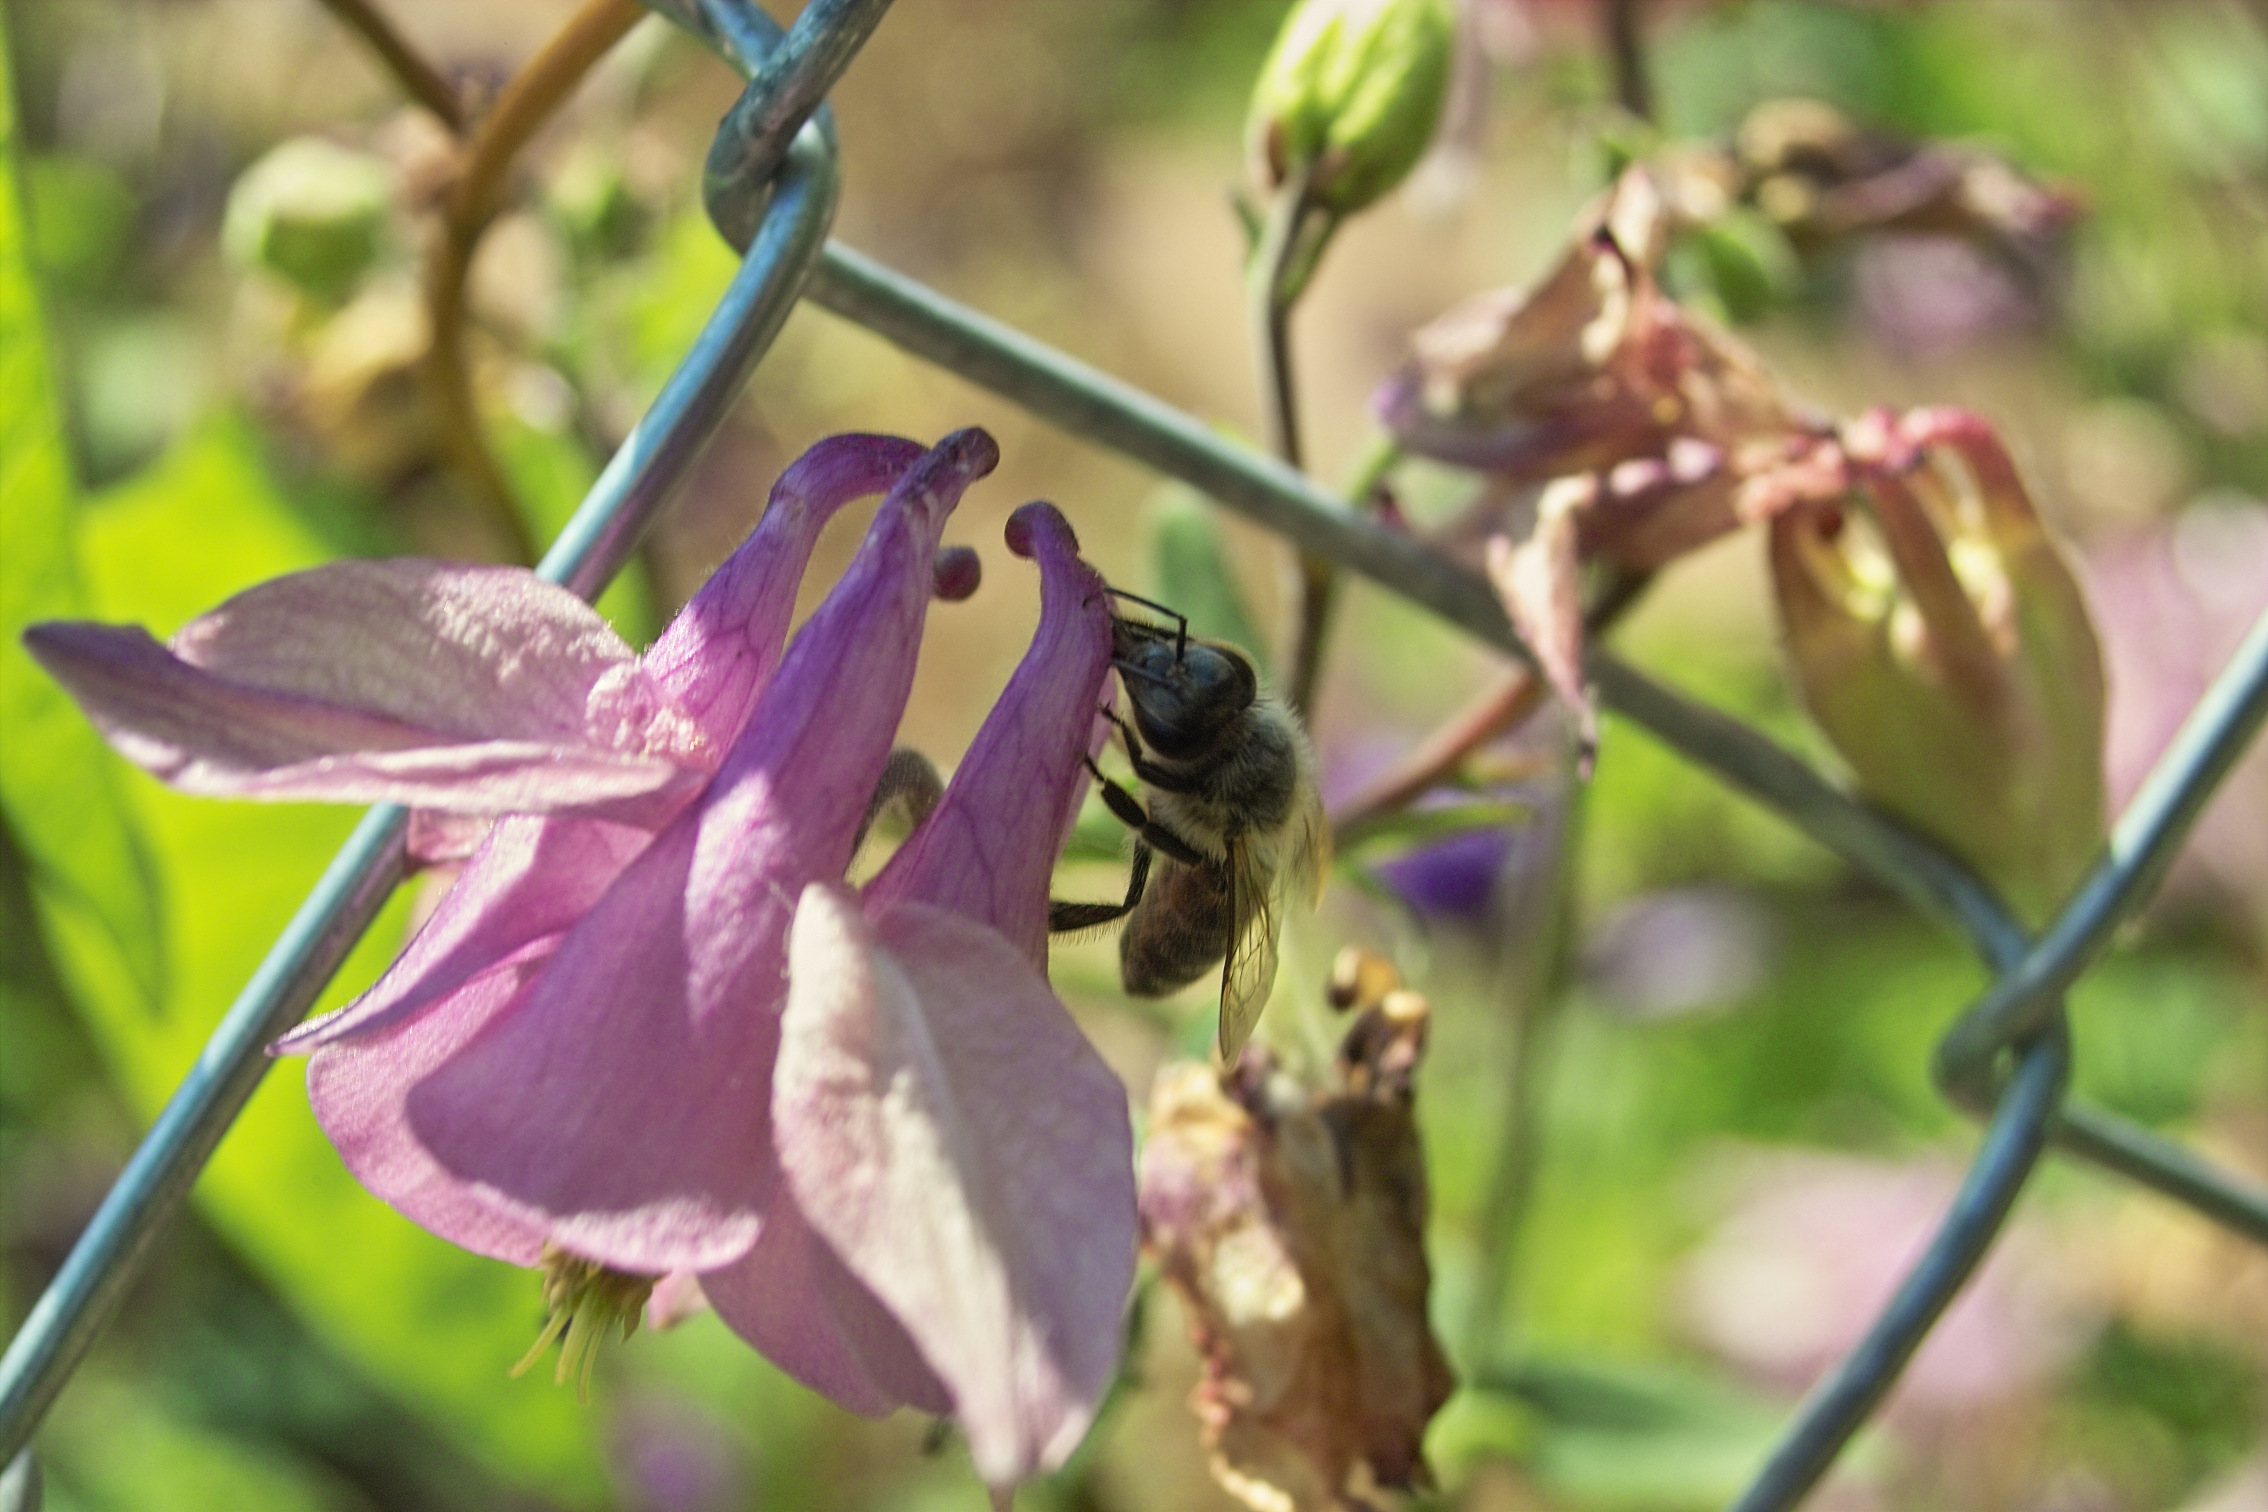
Macro with the kit lens: a bee (I know I know...)
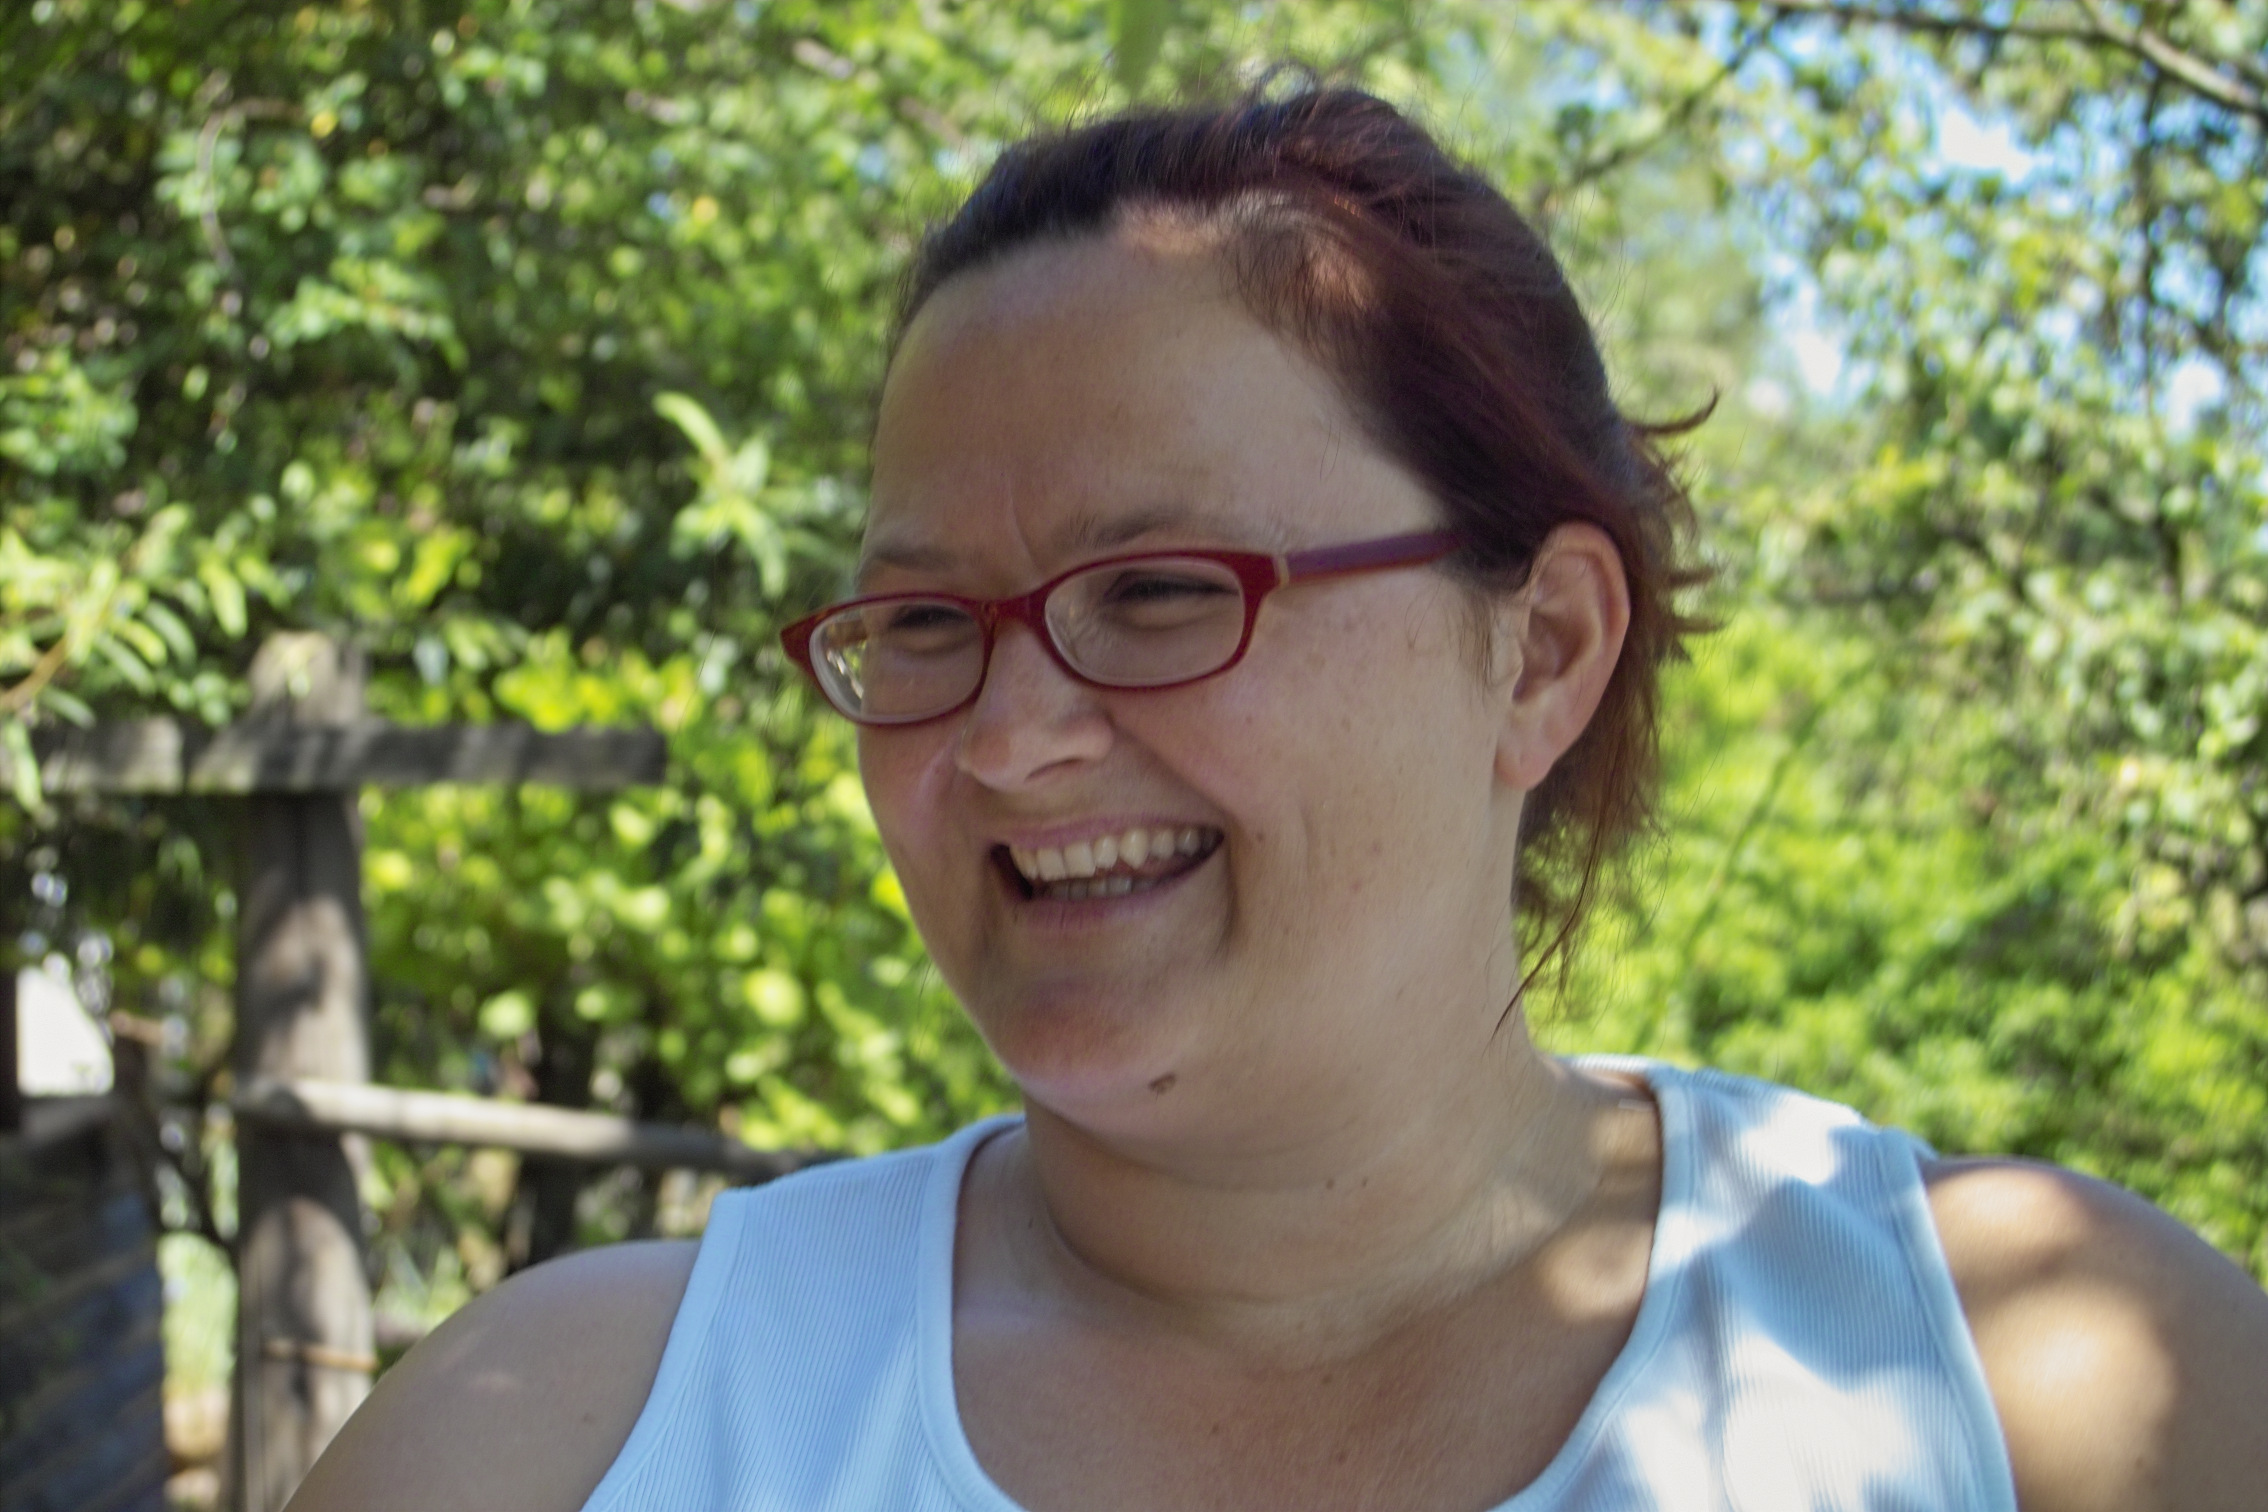
A snapshot portrait of my wife, for a change...

Rosa

Another pic of my children...

An example of negative fill-light, to create a ...whatever... effect.
Another use of negative fill light. The pic is not good material but thanks to the neg. fill light it now has an eerie athmosphere to it. I have also performed some ecclectic clipping :) Just look at the full frame after you are done appreciating it :o)
Somewhat of a compositional in-joke - the large child is my small daughter and the small child is my large daughter
Also shows rather gracefully blown highlights you cannot complain about.
Correct the automatic exposure by -1/2 - -1 stop in full sun situations to avoid this.
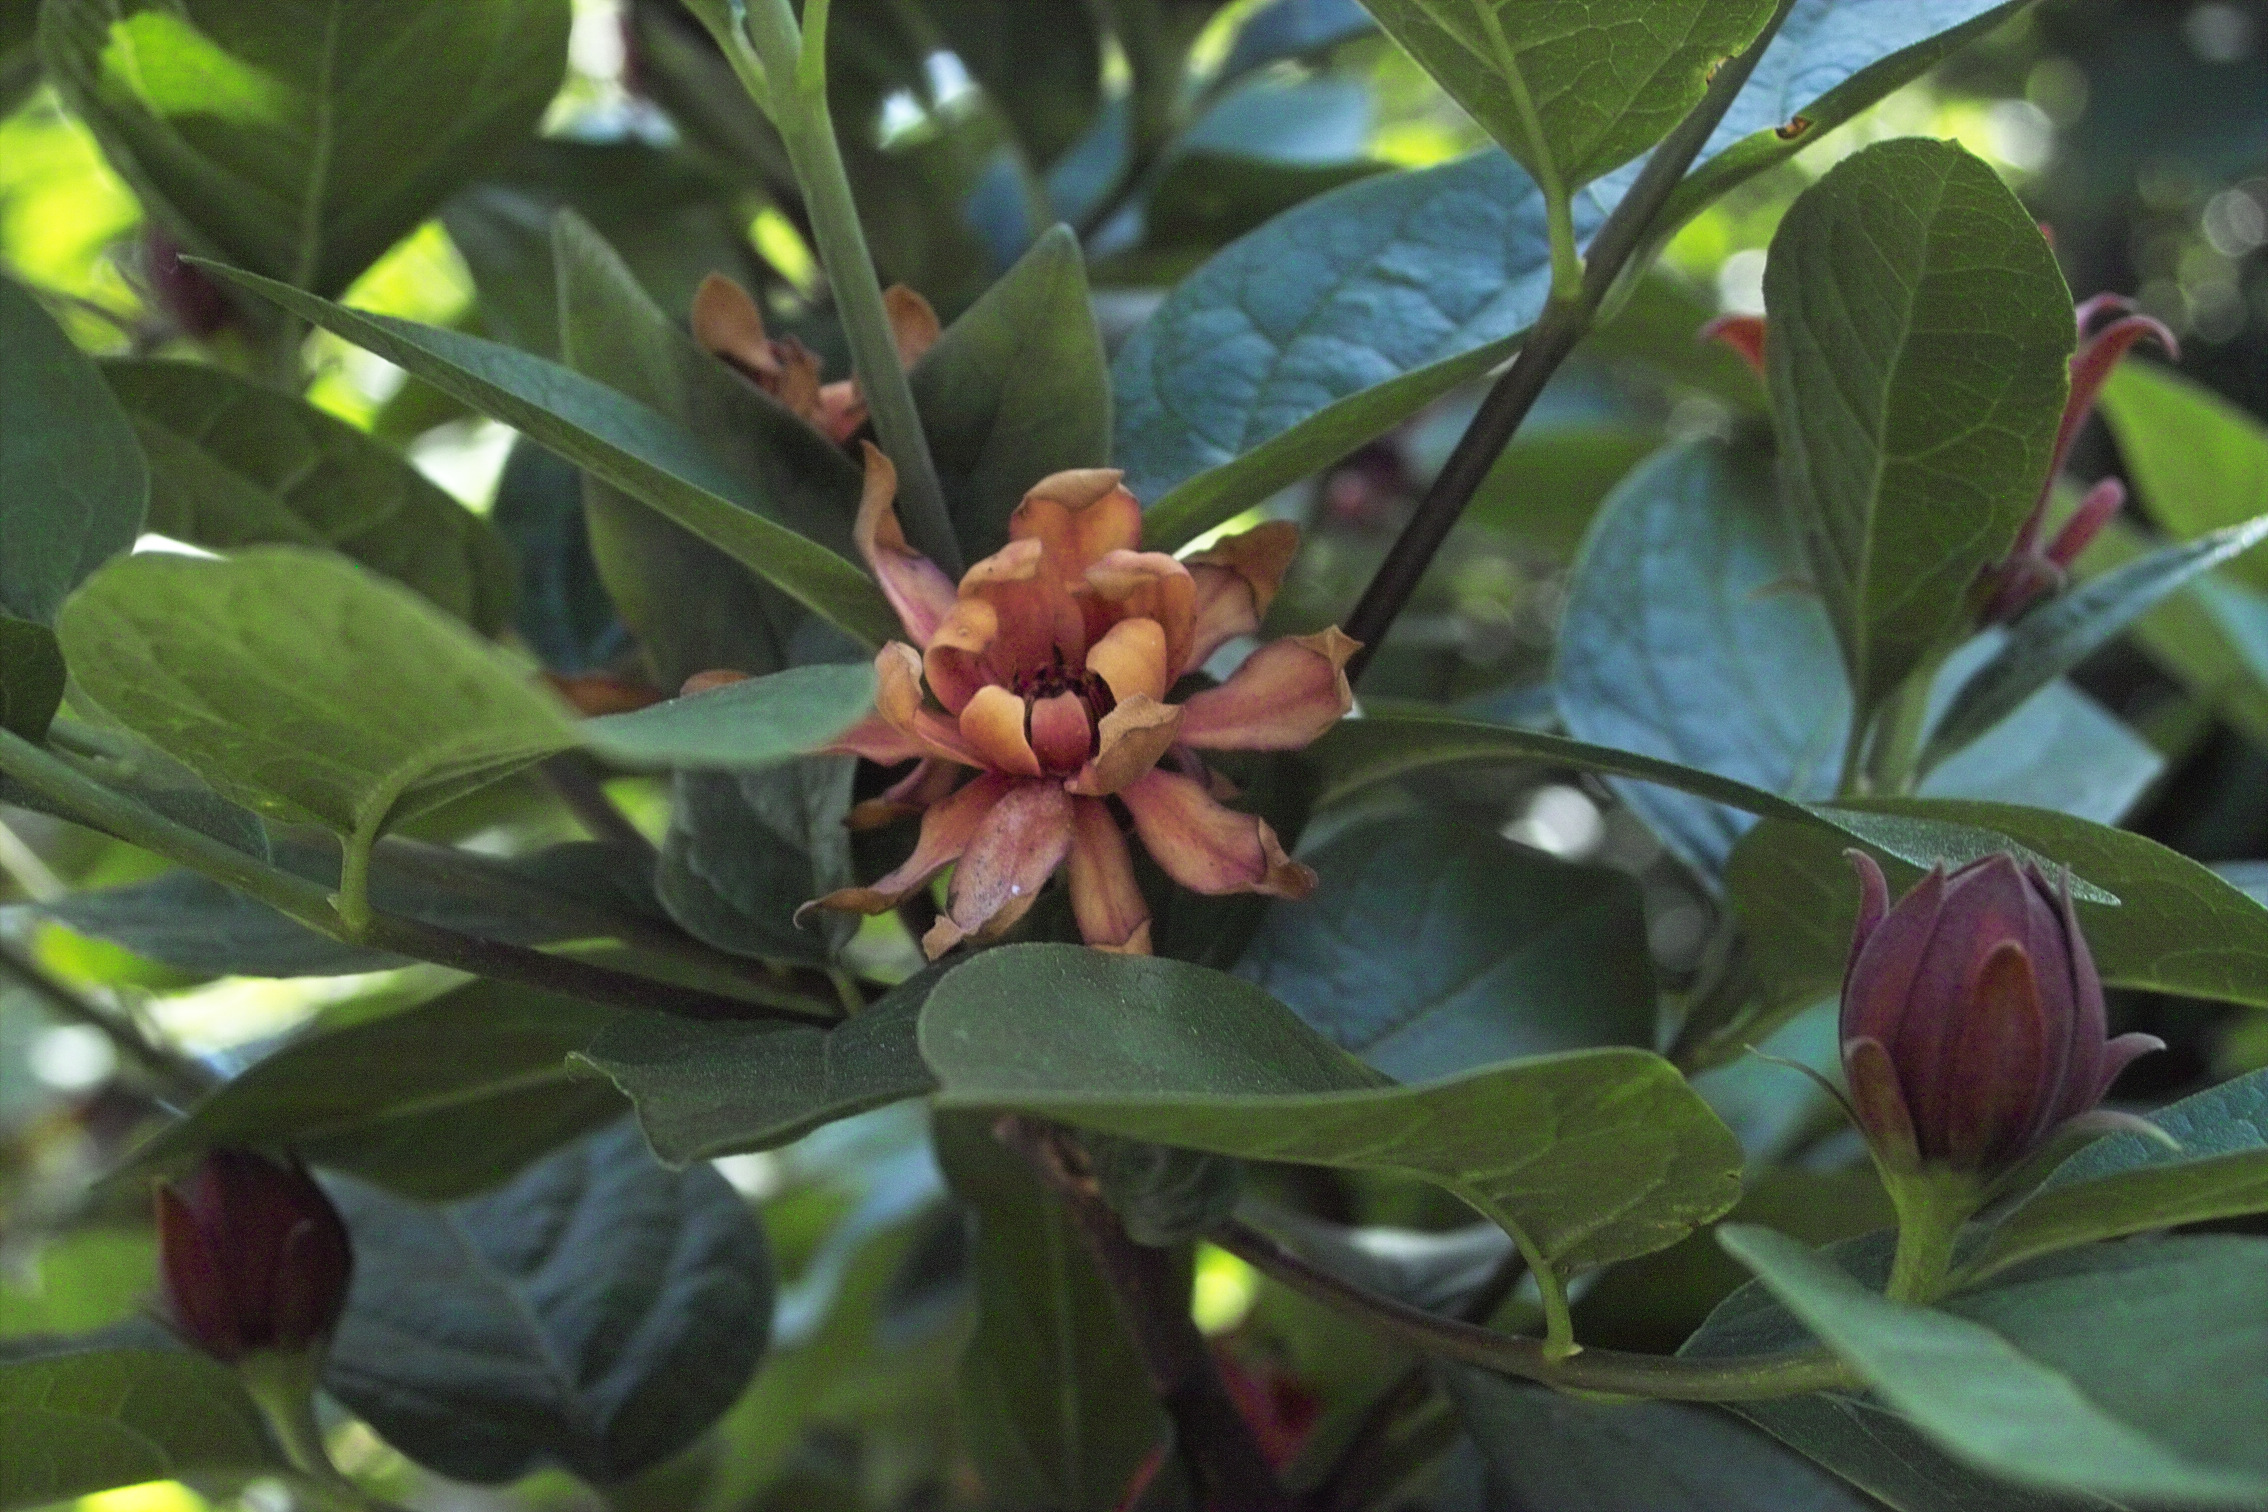
Some flower macro, I like the colors of that flower. But it shows high noise at ISO 100 even with ok exposure.
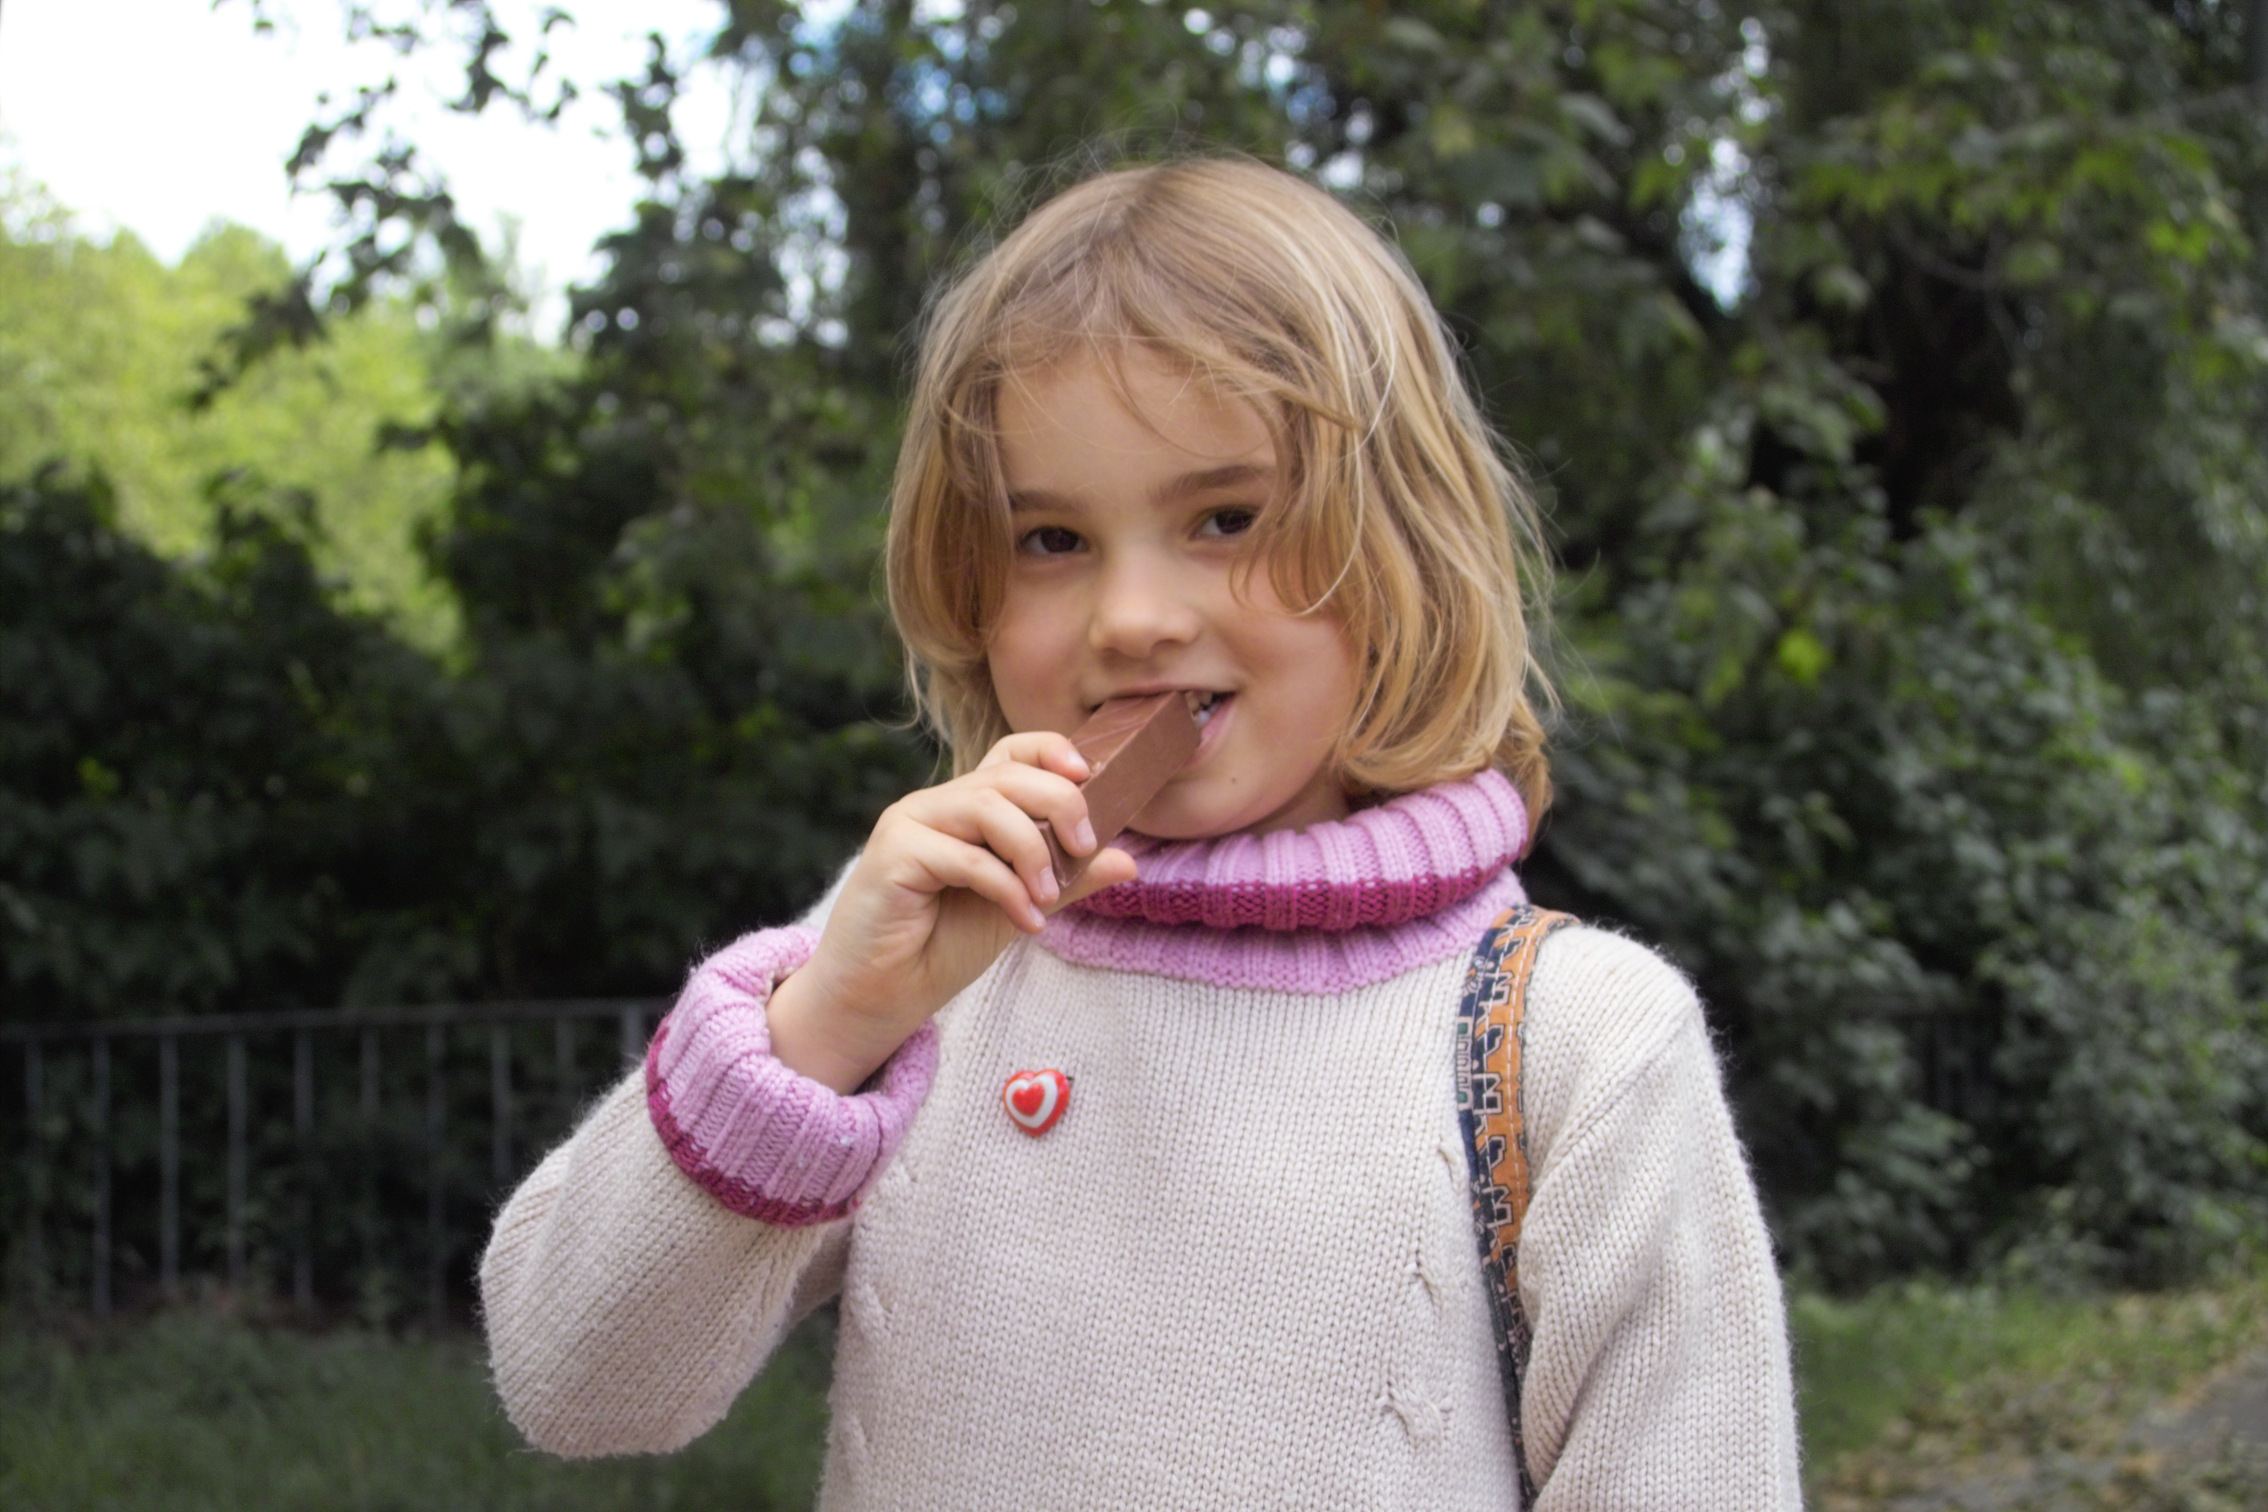
Rosa with a chocolate bar (more SD9 people shots, Yo!)

Lilli showing off one of her faces
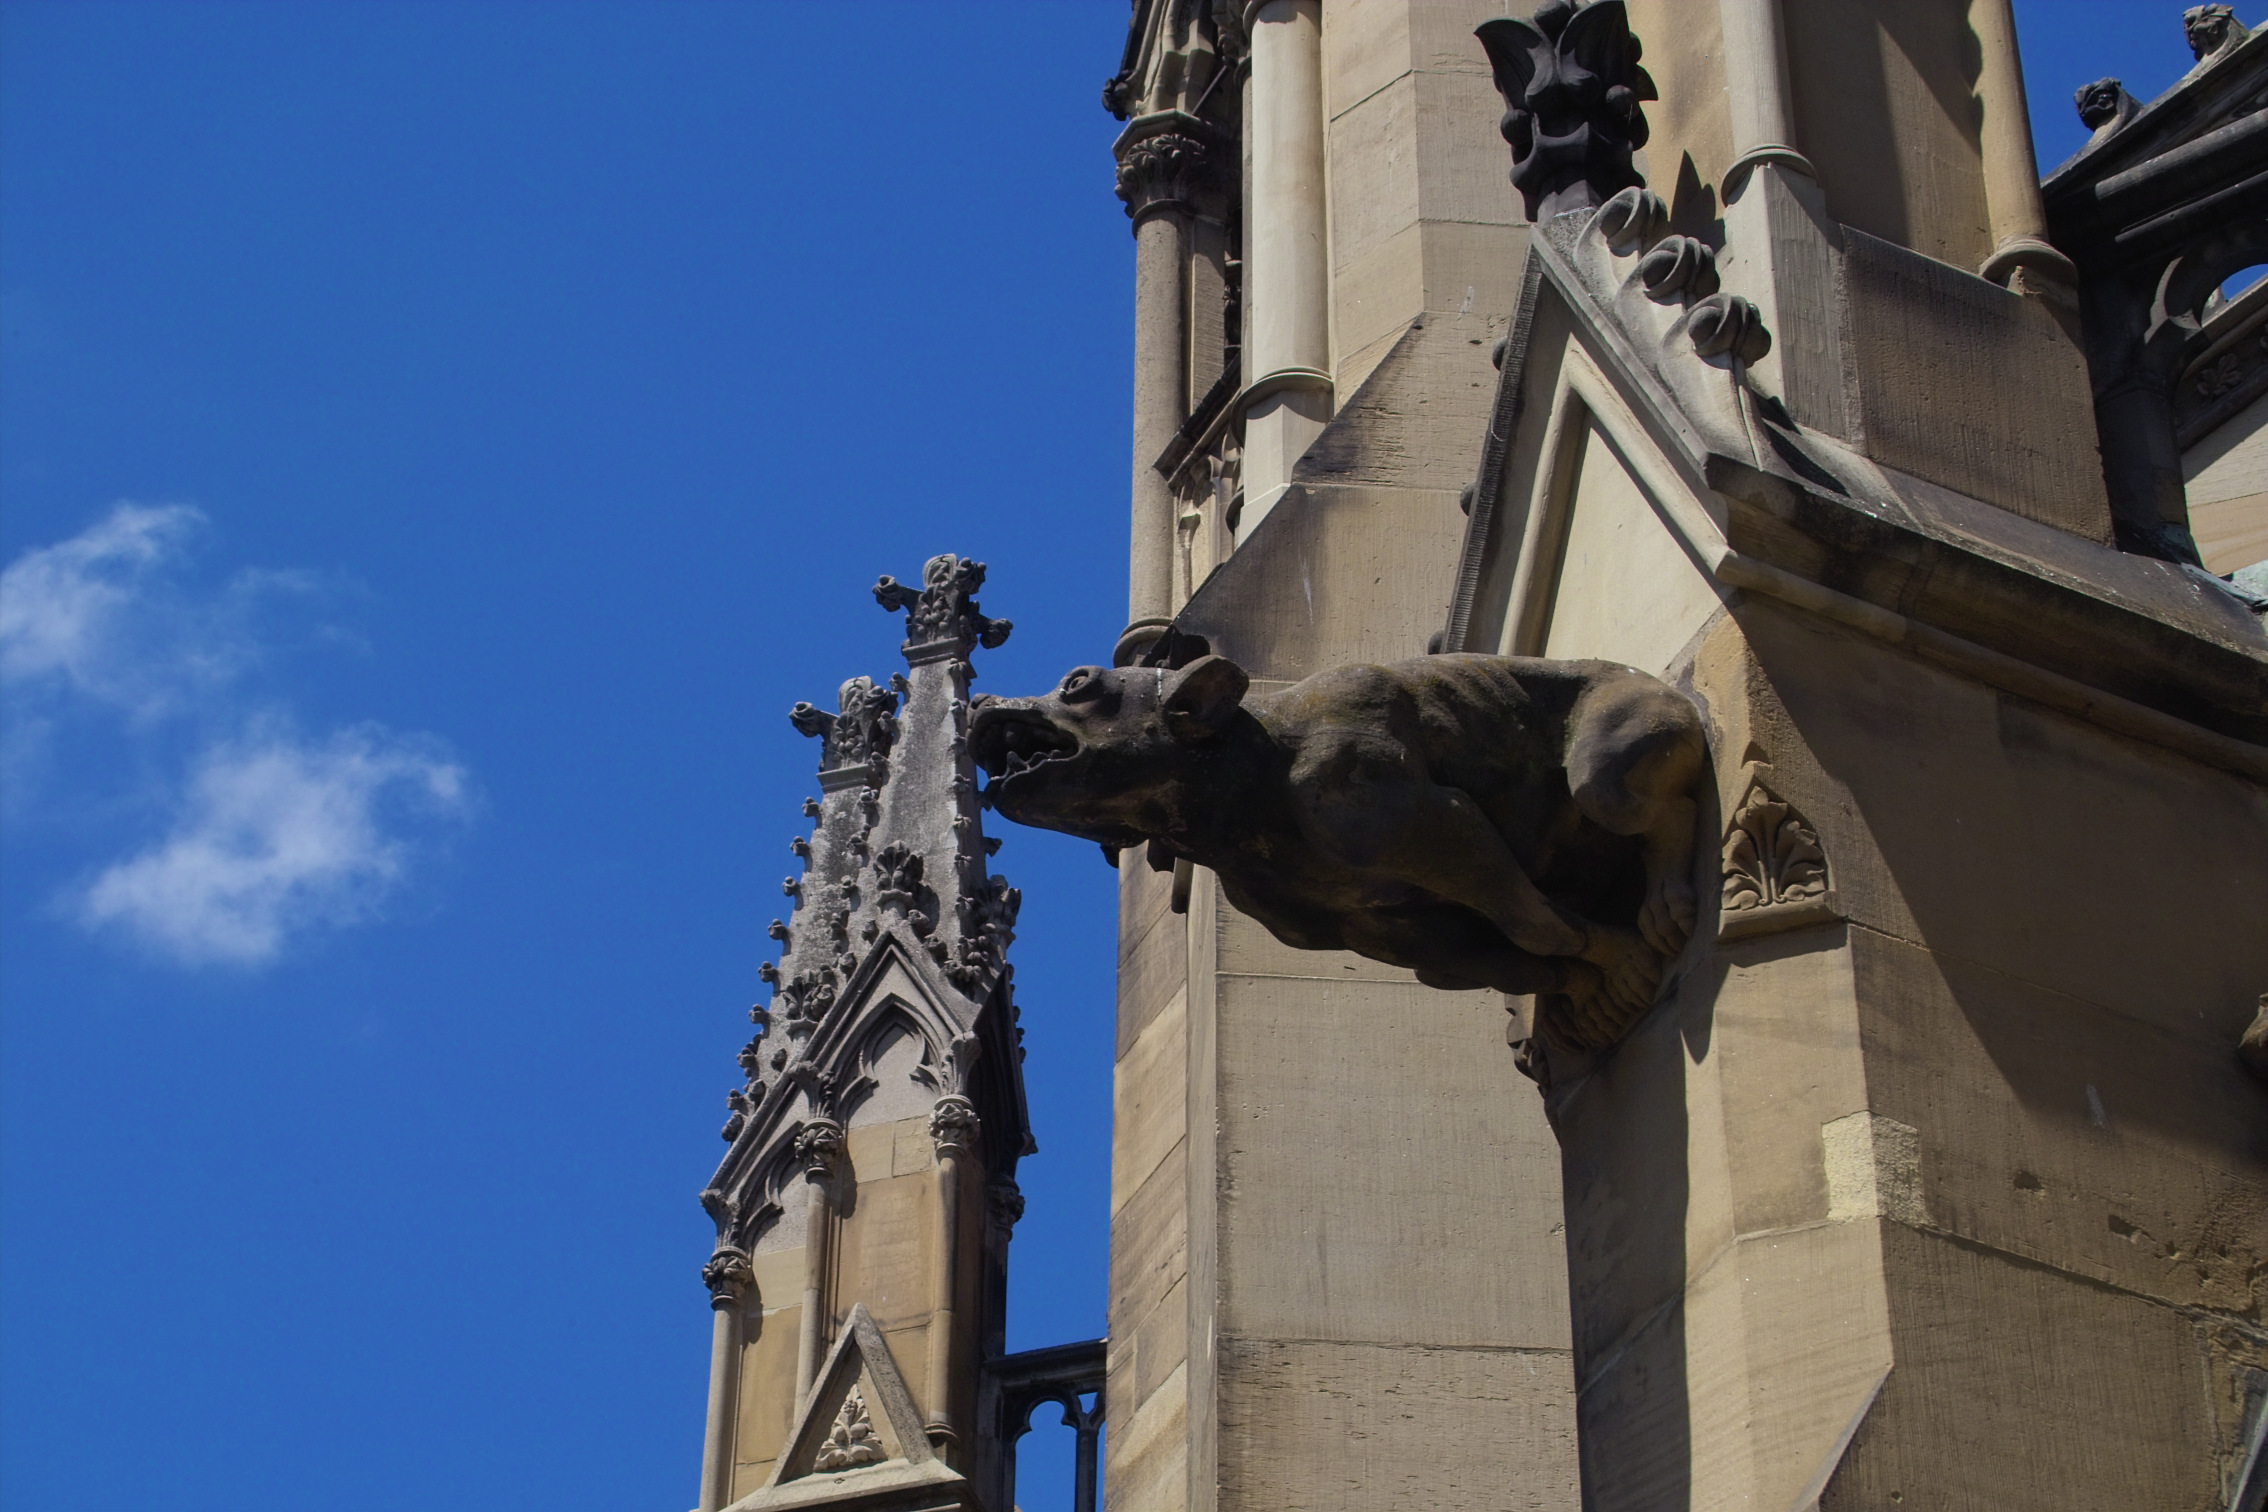
A hellhound on our notre dame - lookalike churchlet. Would be better if it would not bite into the turret.
Another portrait of Lilli

Father, you're doing it again!
No need to tell mom, it's only the kit lens at 50mm

This is our notre-dame-lookalike churchlet. A limestone excercise in yellow/pink variation, which just does not vary as much with thee SD9... Instead, it looks rather contrasty. Nice postcard, anyway.

Simpson, one of our cats. The aliasing in the whiskers is not a foveon effect, but a result of the quick and dirty downsizing. My hands are not steady enough to produce objectionable aliasing in usable quantities :o}.
Taken with a Revuenon 50/1.4, manual focus & exposure. A cheap Pentax-K lens that I have modified to fit the SA mount. I think I get better results than with the kit lens - whenever I actually remember to focus & expose...